It’s December and that means it is time for the [glossary]Hour Of Code[/glossary]! Below are links to coding activities for various grade levels:
What is the Hour Of Code?
The Hour of Code started as a one-hour introduction to computer science, designed to demystify “code”, to show that anybody can learn the basics, and to broaden participation in the field of computer science. Once you have finished your hour why not go beyond the Hour Of Code?
Our Objectives:
-
- Learn basics of writing computer [glossary]code[/glossary]
- Learn to create and make with computers
- To be part of the worldwide coding movement
Google.com
- The Santa Tracker Code Lab – Learn to program by helping the elf get to the presents. This Code Lab is perfect for early learners as no reading is needed. All lessons are taught through pictures and animation!
- Google Coding Doodle – This Google Doodle celebrated 50 years of Kids Coding! Help the rabbit collect the carrots! This is another great activity for younger students as there is minimal reading.
- Code Boogie – Use coding blocks to teach the elves to dance! This activity requires very little reading as well.
Code.org
- Minecraft: Hero’s Journey – New for 2017! Minecraft is back for the Hour of Code with a brand new activity! Journey through Minecraft with code.
- Minecraft Designer – Program animals and other Minecraft creatures in your own version of Minecraft.
- Minecraft Adventurer – Use code to take Alex or Steve on an adventure.
- Star Wars – Learn to program droids.
- Disney’s Frozen – Use code to help Anna and Elsa explore the magic and beauty of ice.
- Make A Basketball Game – Choose your team and make a basketball game.
- Code your own sports game – Mix and match across sports.
- Classic Maze – Try the basics of computer science with characters from Angry Birds, Plants vs. Zombies, and Scrat from Ice Age!
- Disney Infinity Play Lab – Use Play Lab to create a story or game starring Disney Infinity characters.
- Gumball Play Lab – Create a story or make a game with Gumball Play Lab!
- Ice Age Play Lab – Create a story or make a game with Ice Age Play Lab!
Tynker
Kindergarten
 Candy Quest – Beginner
1st Grade
 Puppy Adventure – Beginner
2nd Grade
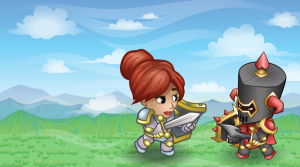
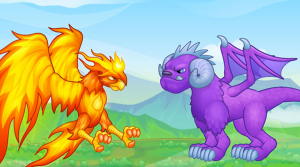
 Dragon Dash – Intermediate
3rd Grade
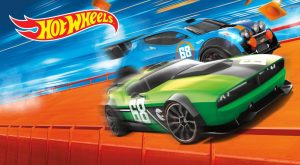 Hot Wheels – Beginner
4th Grade
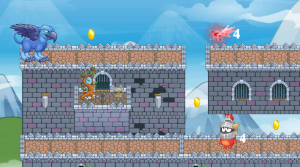
 Code Commander – Intermediate
5th Grade
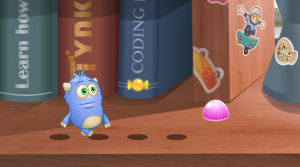
 Code Monsters – Intermediate
When you are all done tell us what you think about the Hour Of Code:
TMES Hour Of Code Survey

You must be logged in to post a comment.