Will It Float?

Over the past few weeks our 3D Studio students have been learning the basic tools and commands of Tinkercad. Their progress has been been a pleasant surprise, as digital natives the students come to my lab with many skills already in hand. Thanks to touch devices students understand zooming and rotating objects on screen. In addition I think video game experience plays a large part in the understanding of how to engage a 3D world and control a 3D camera. Hours of Mario and Madden Football have prepared them for this moment. All has not been easy as learning the intricacies of the software and how to effectively manipulate objects in exacting 0.05mm increments has been a bit of an uphill climb.

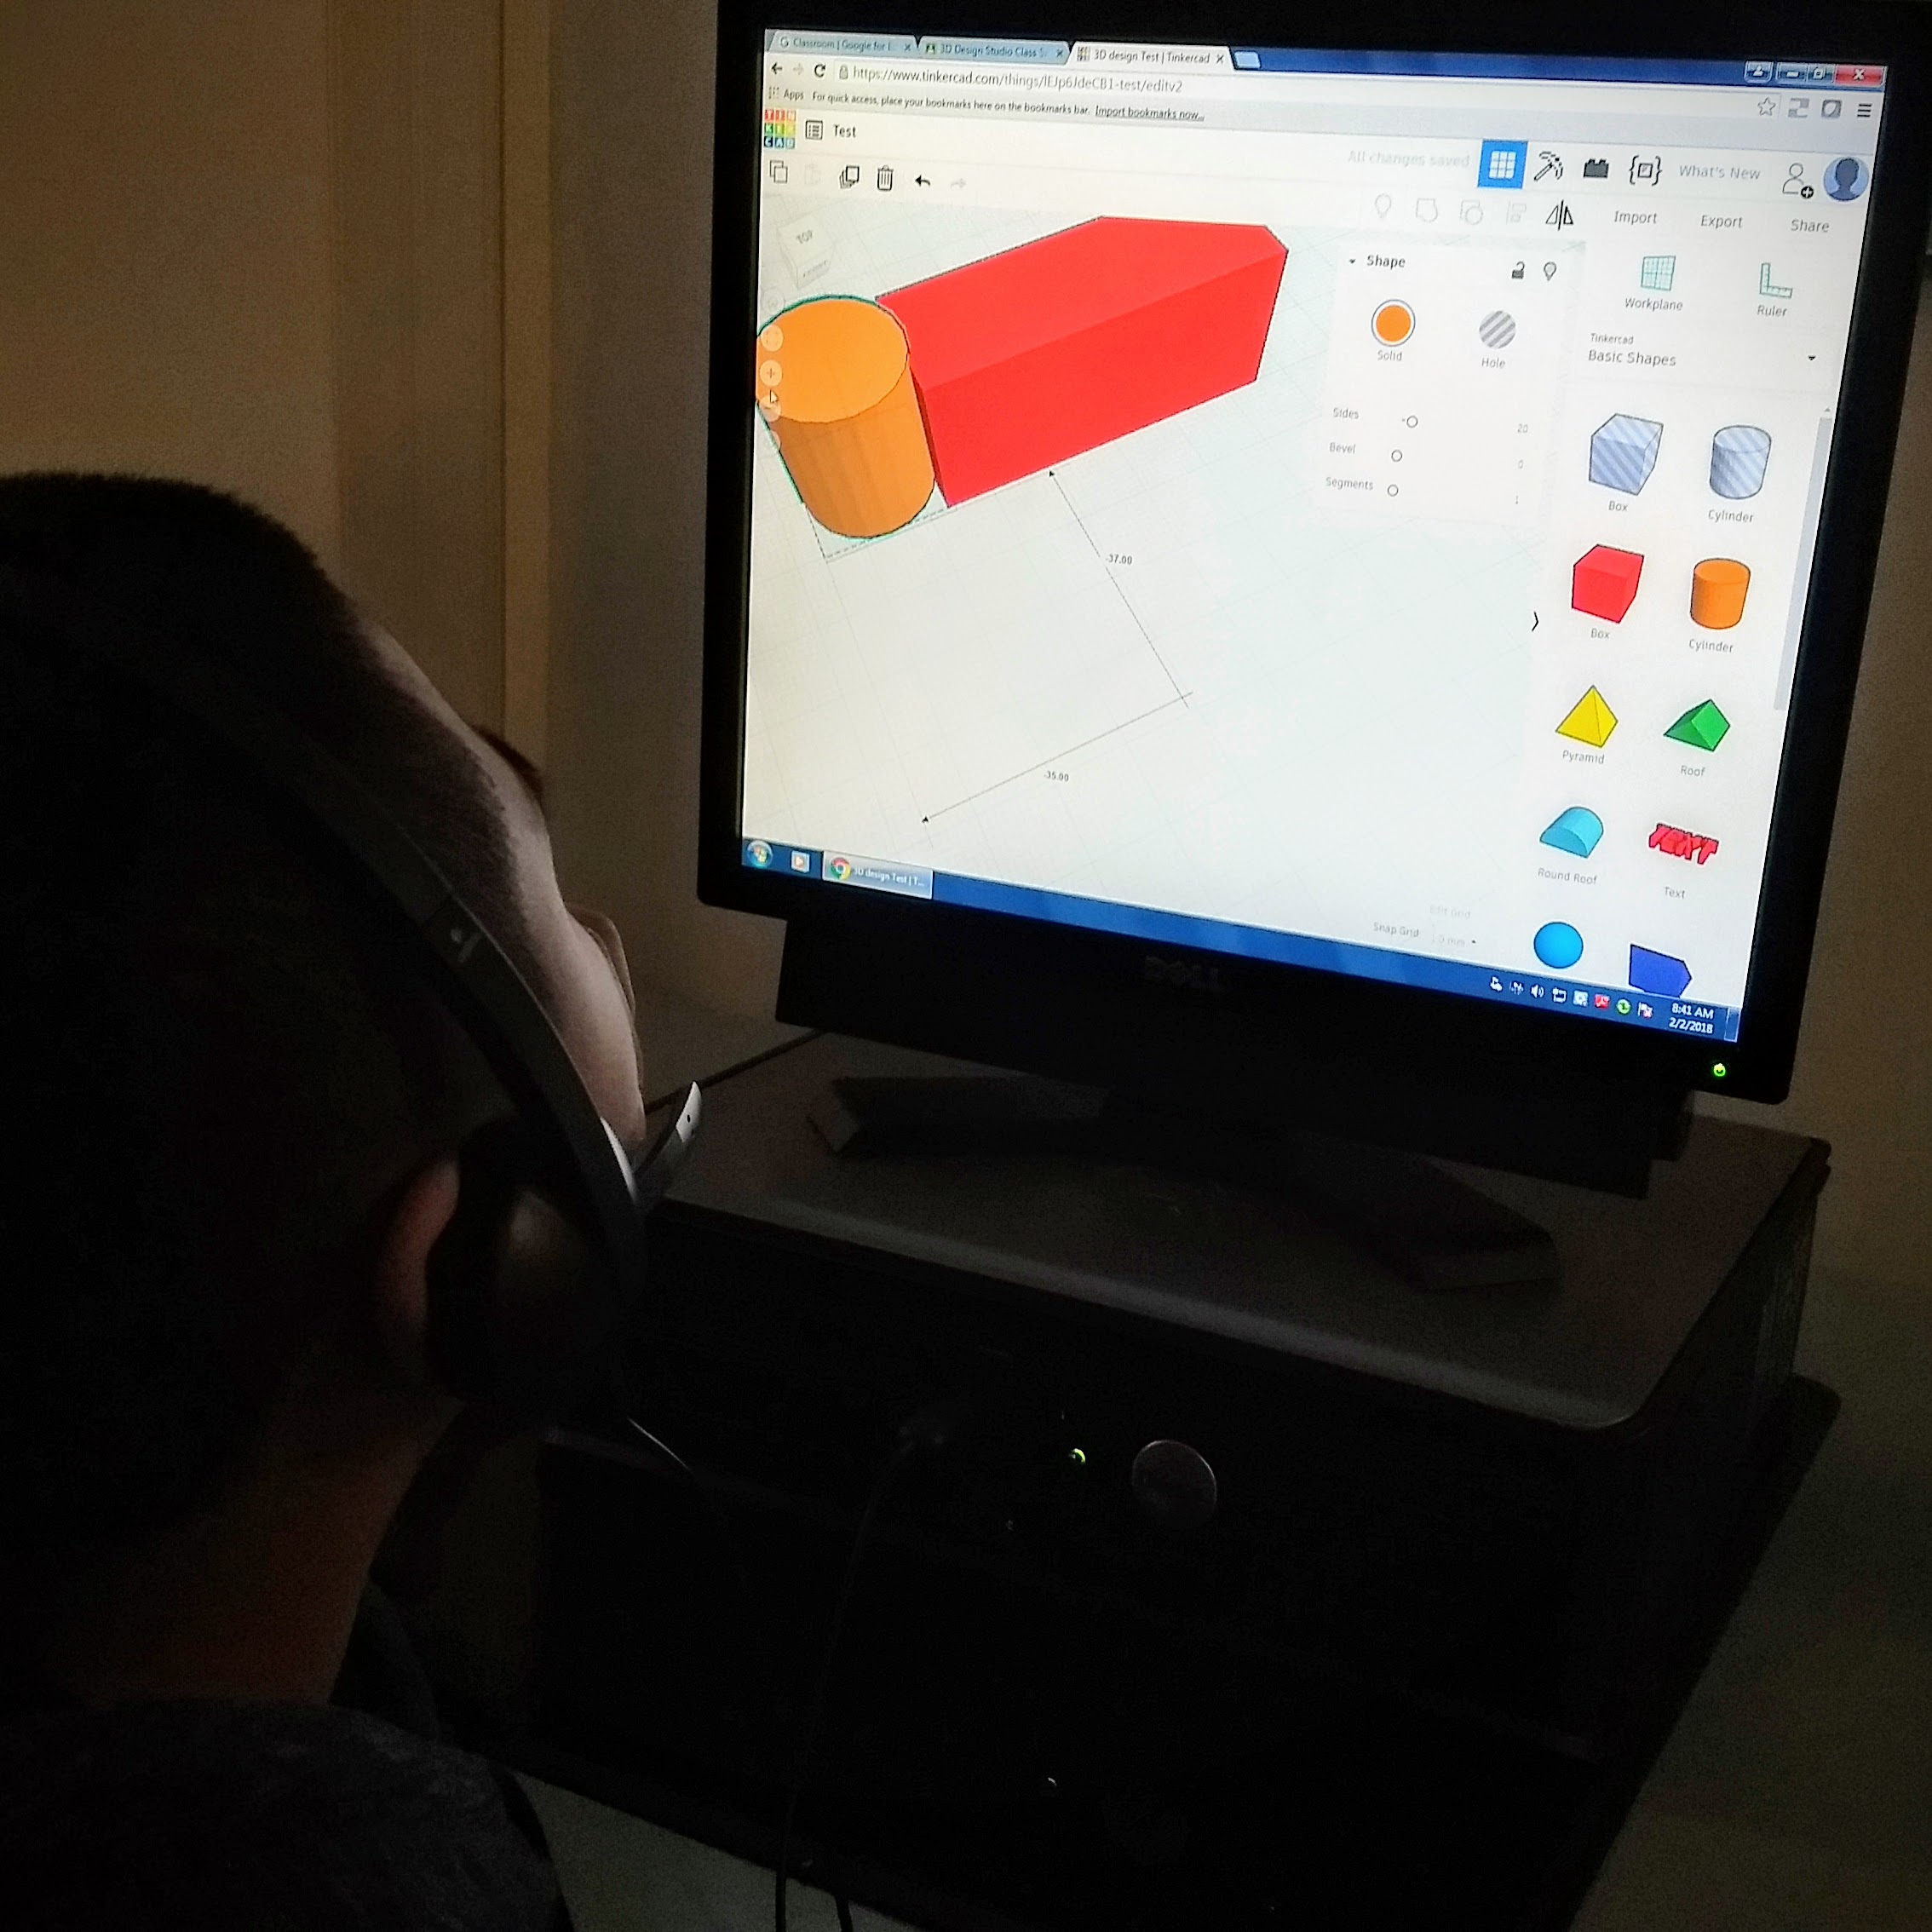
Making sure objects touch to create a larger object has been a tough task

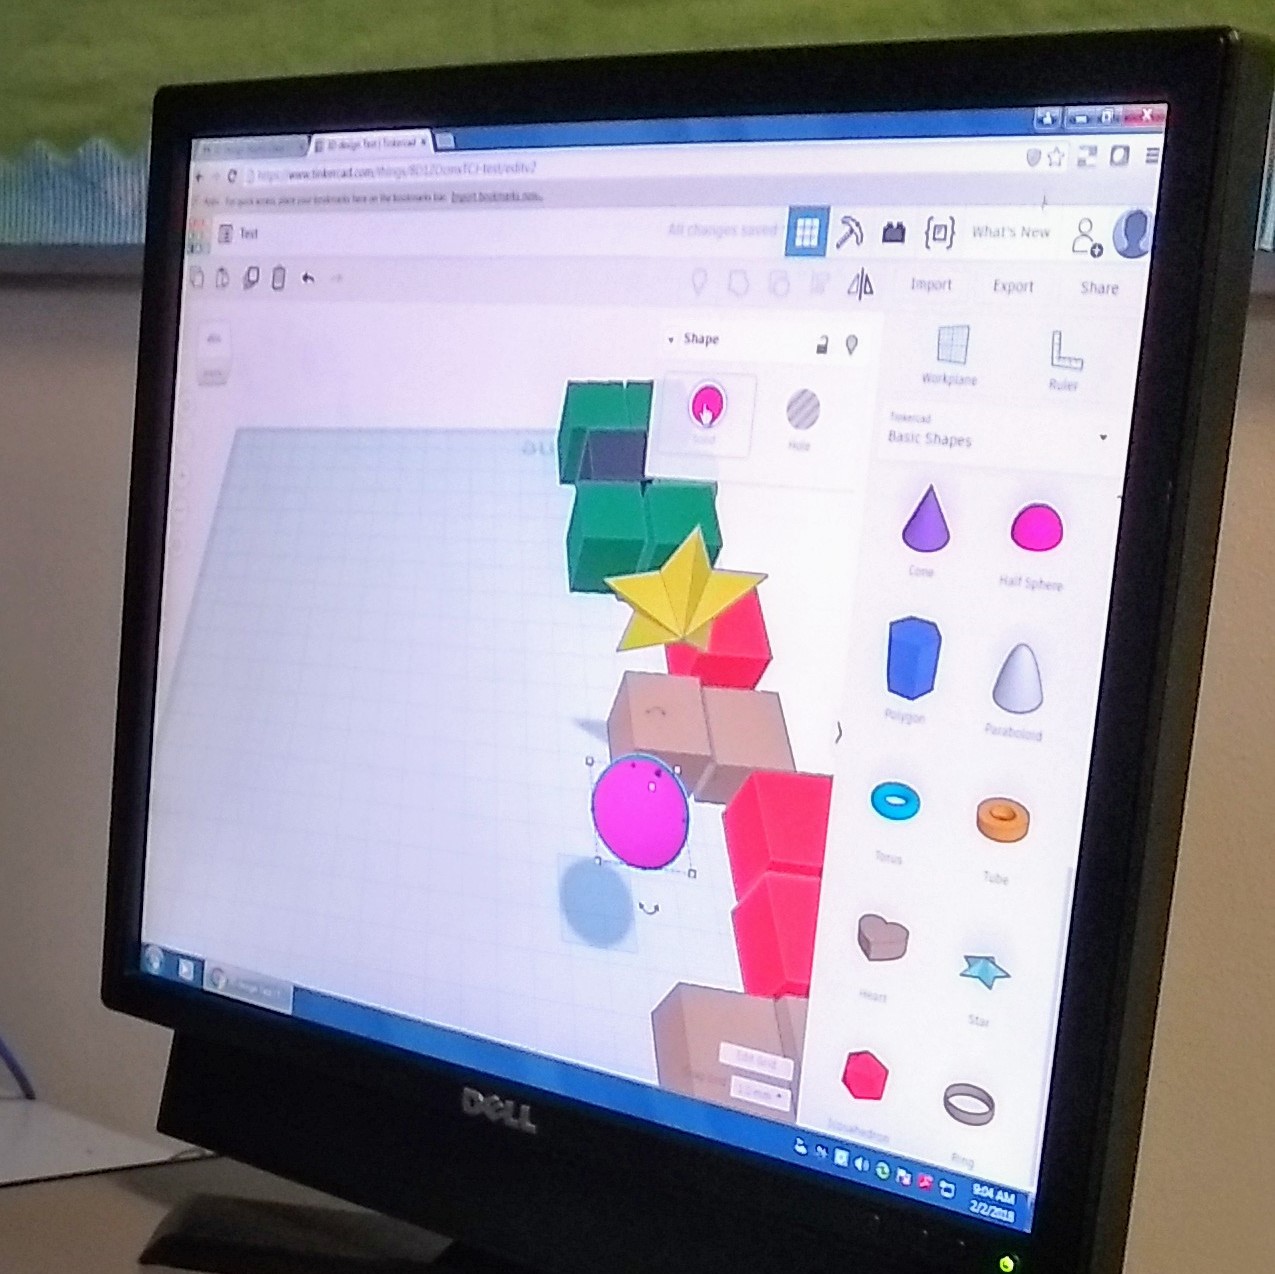
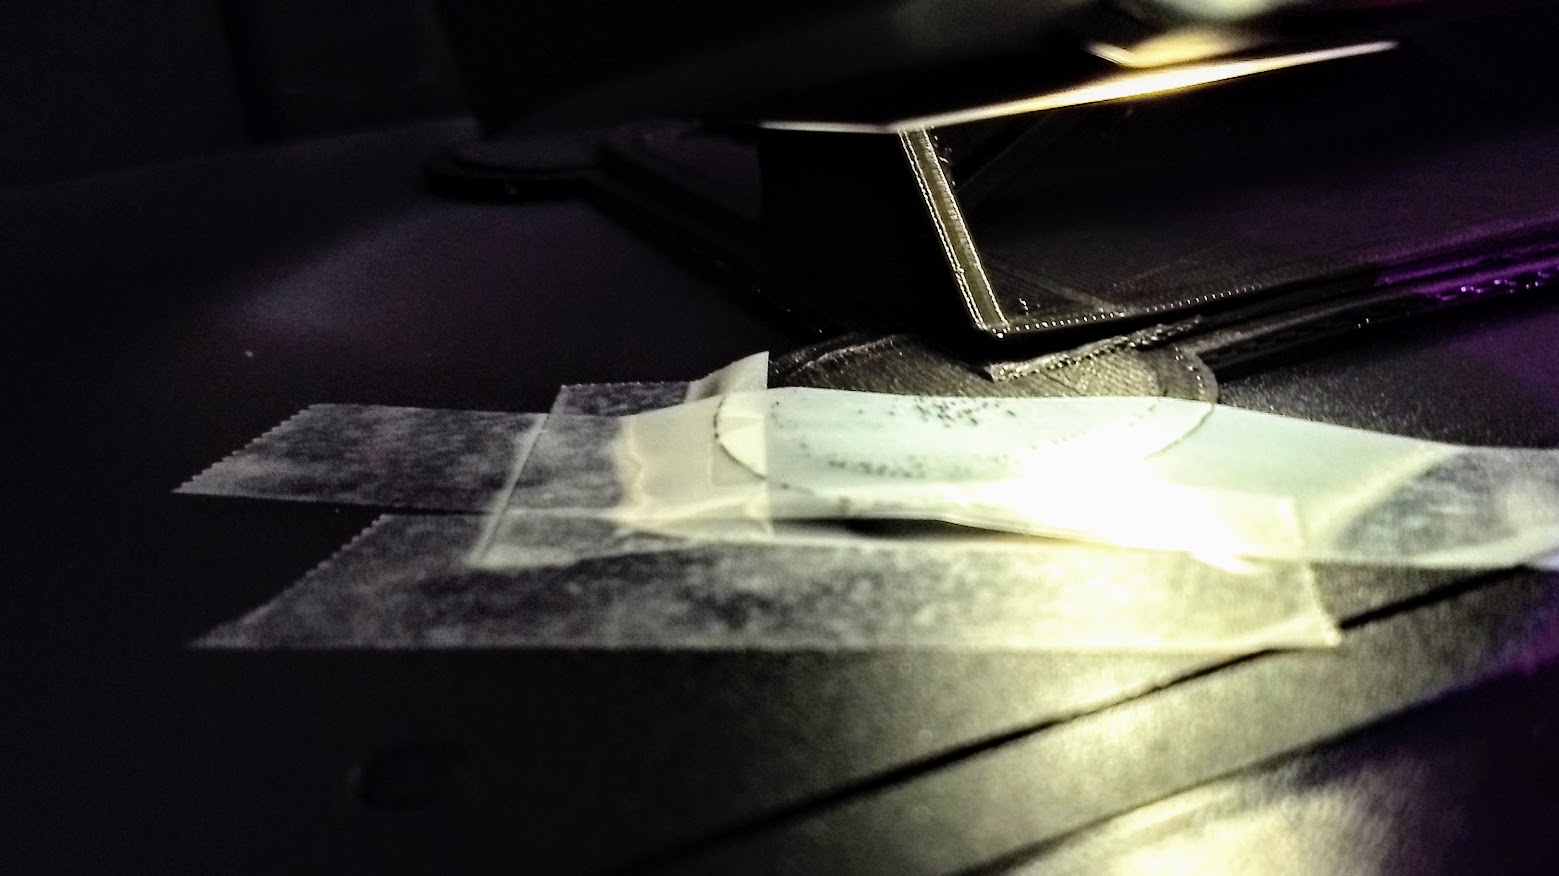
Using Tinkercad’s library of pre-defined shapes to build… something

Now that the students have grown confident in design skills I have presented them with a challenge:

Design a 3D boat that can hold the most pennies possible before sinking.

To prepare for this challenge we took some time to learn about boats, what makes them float and how material and shape effect the design of a boat. After having a discussion about what the students thought made boats float we went to the YouTube (where else?) to learn more about boats and how they float:


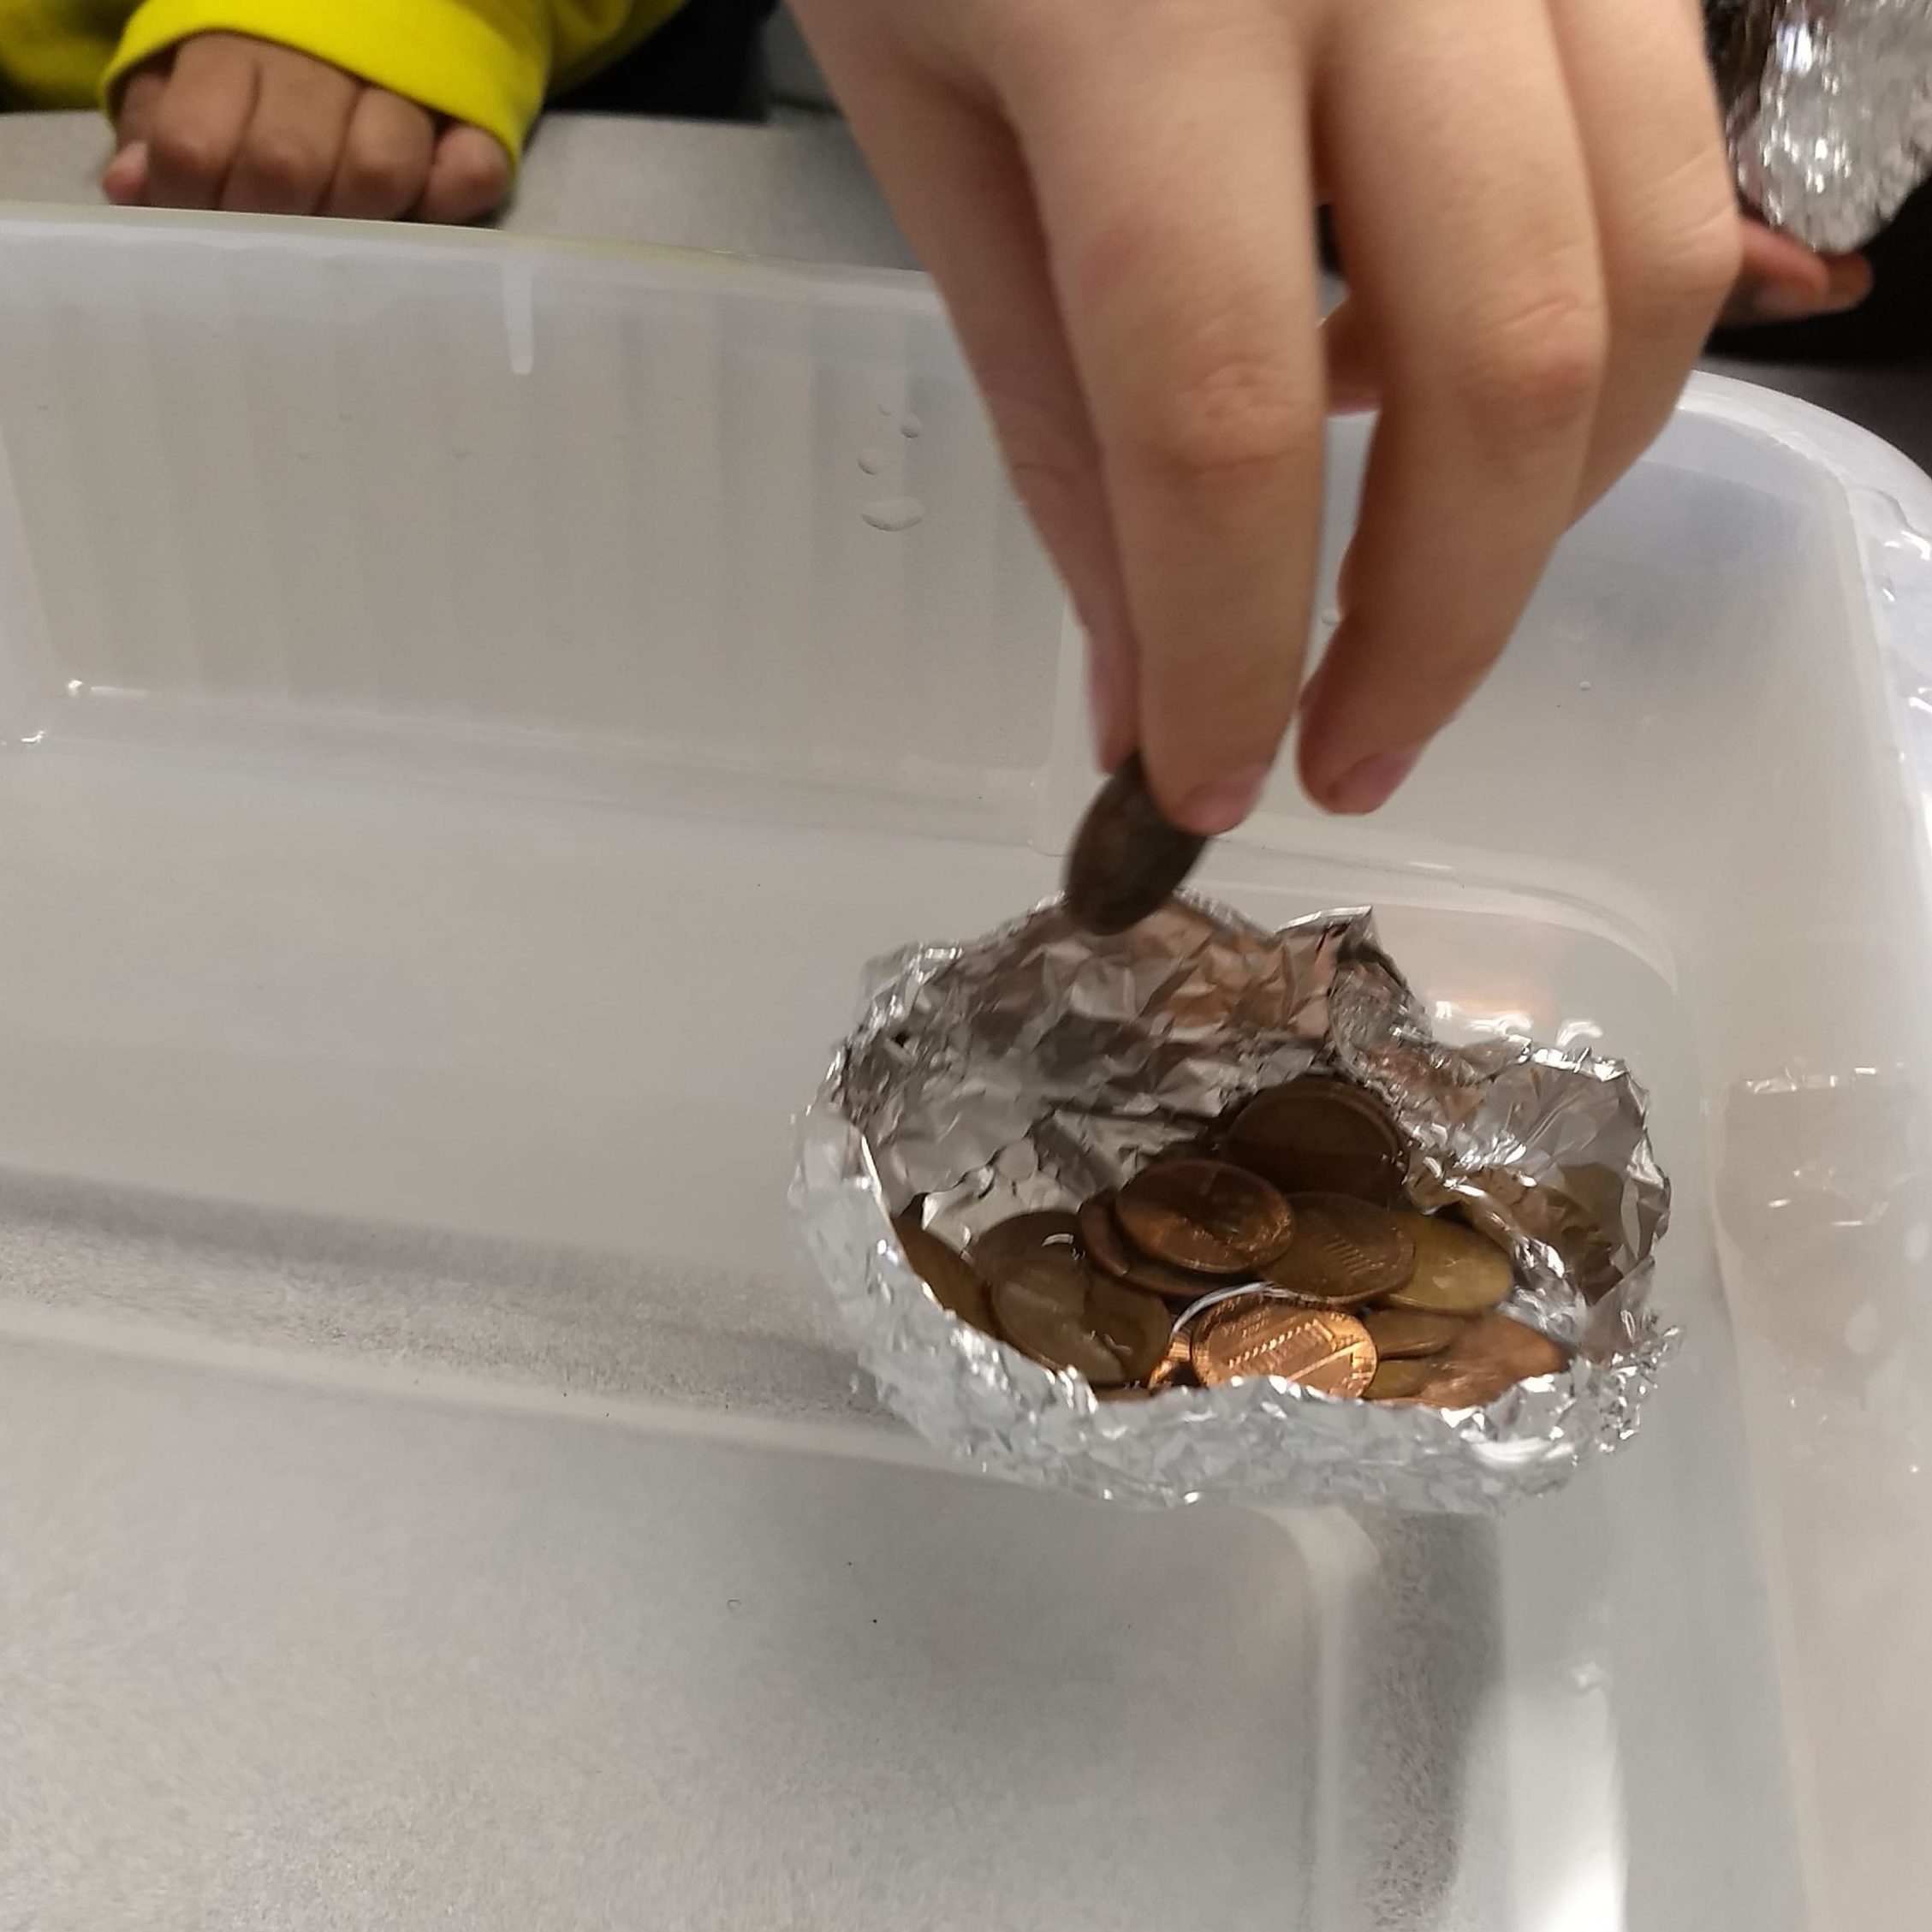
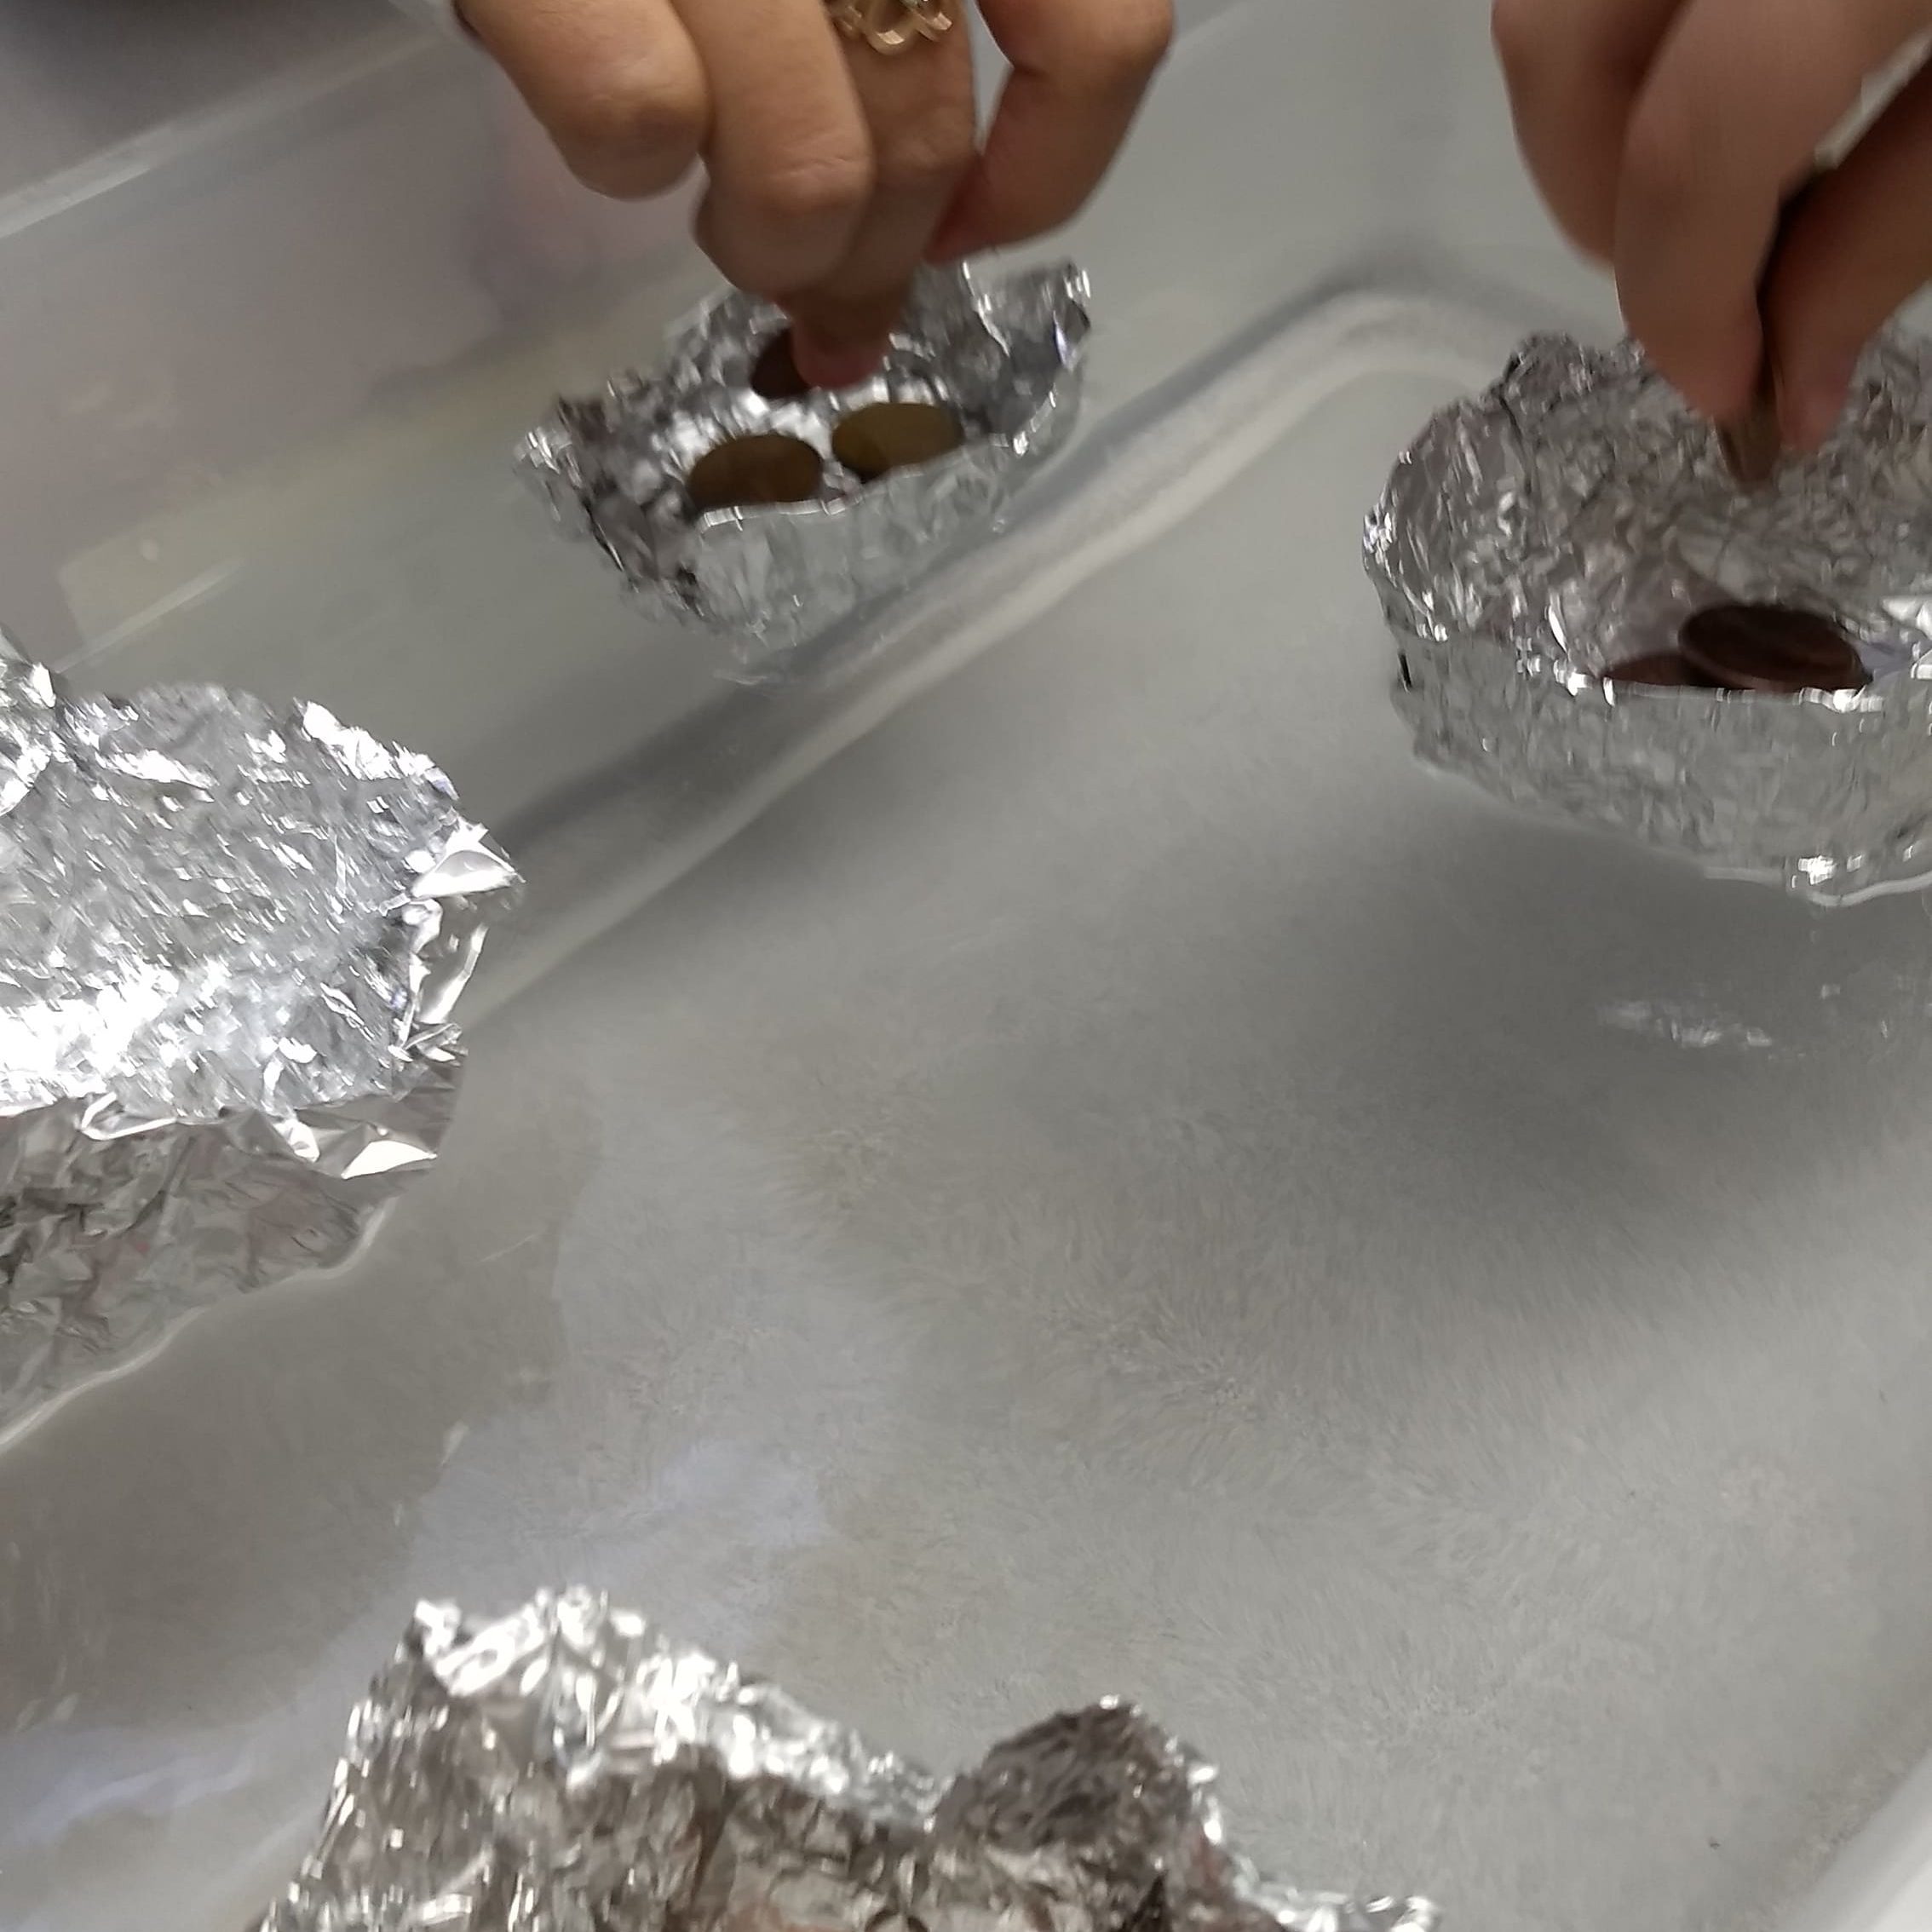
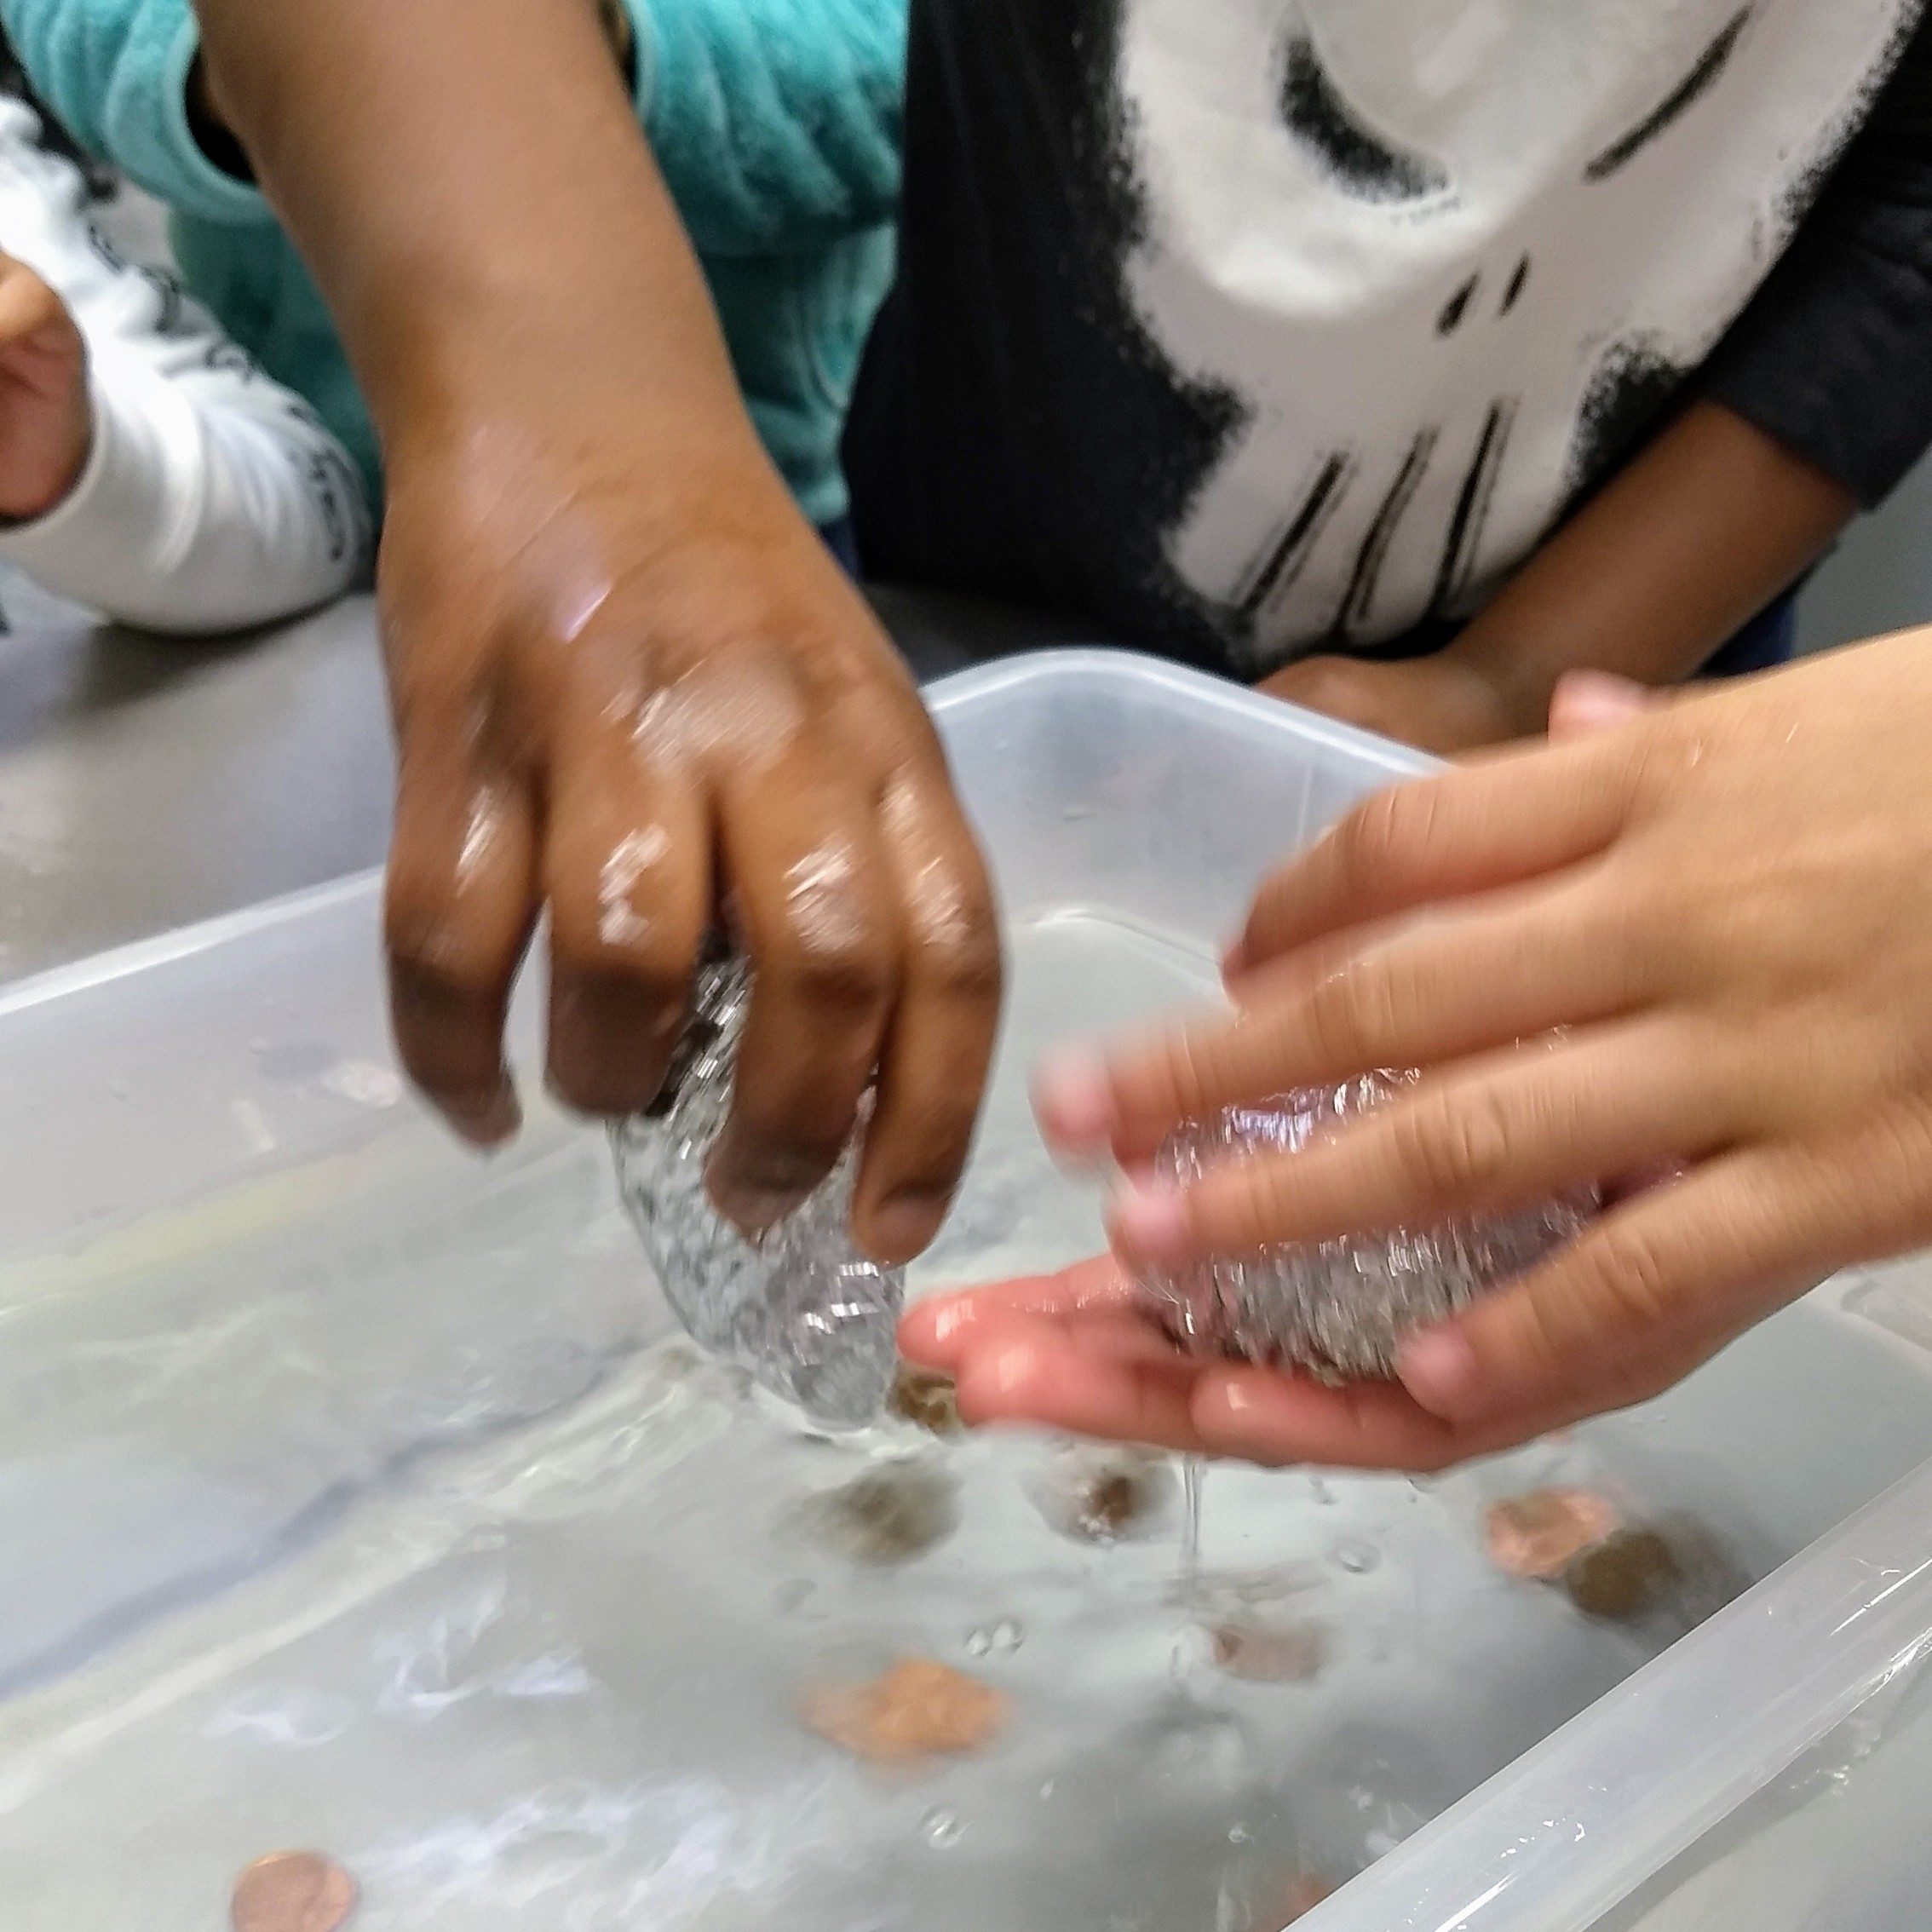
In order to test out the students newly acquired ship building knowledge we did an activity where they created boats out of aluminum foil. They first tested the sea worthiness of their boats and if they passed the test we loaded the boats with pennies until they sank. The boat that held the most was filled with 30 pennies before it sank!


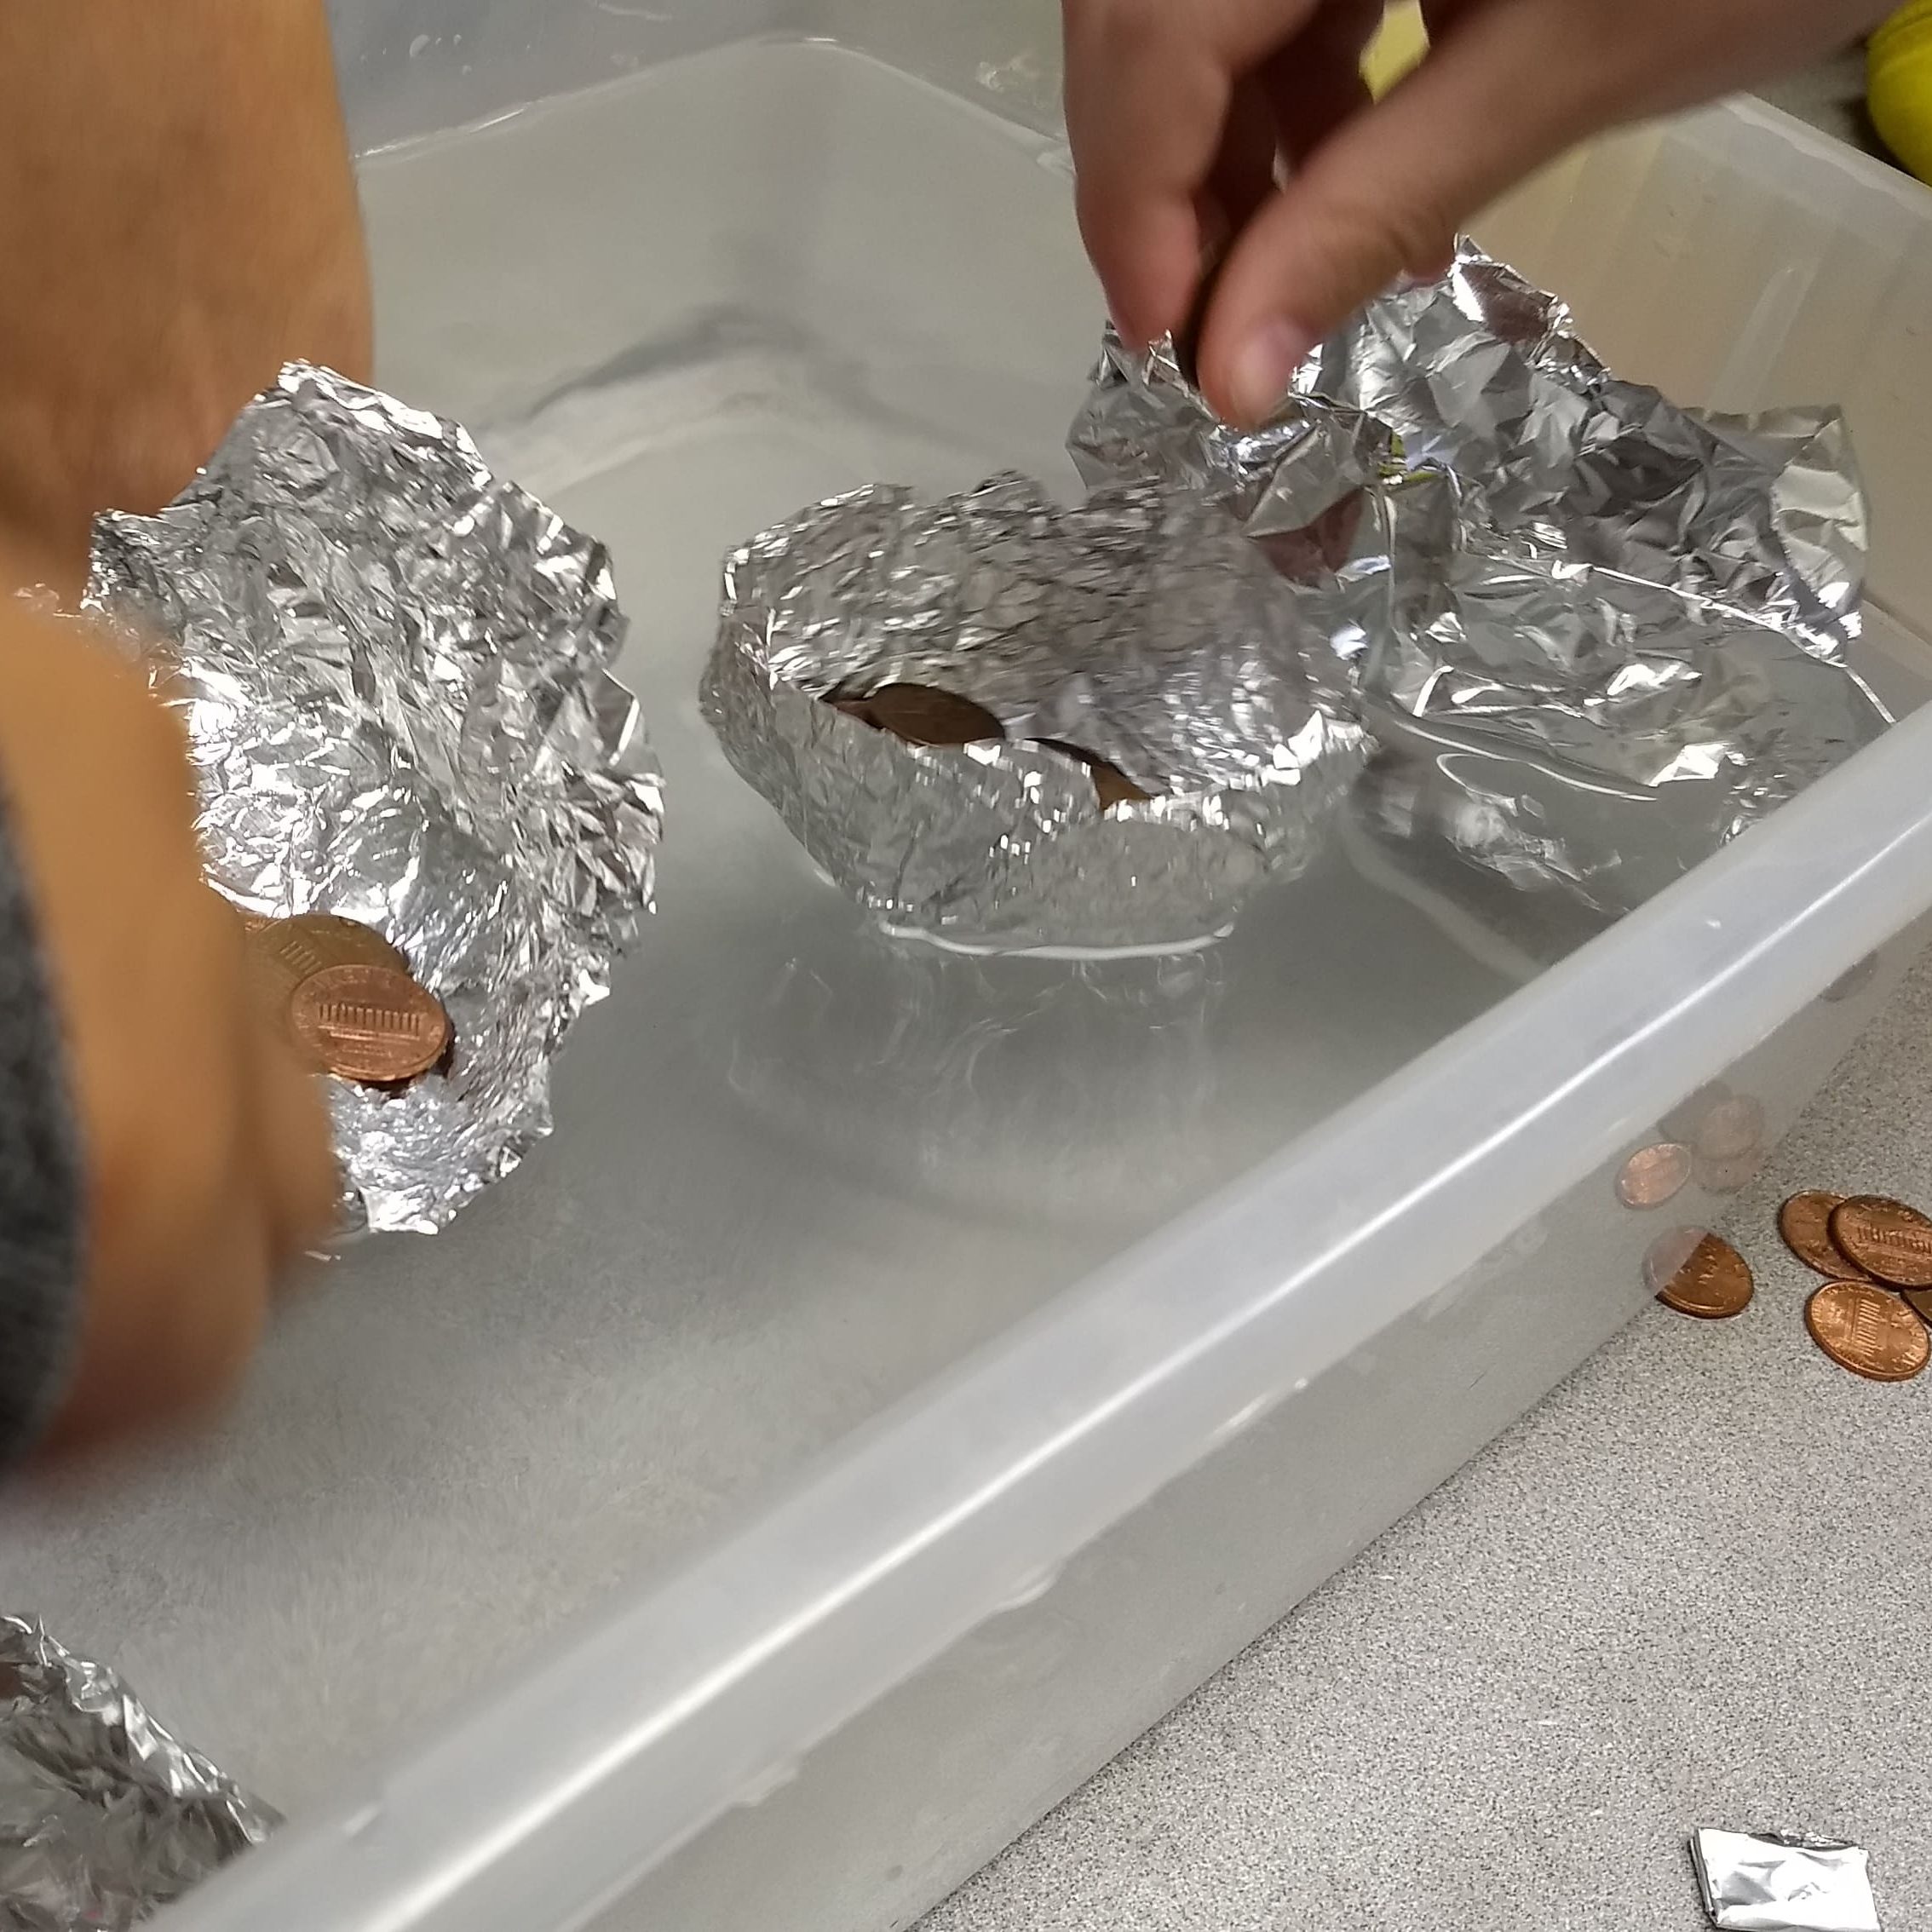
The students quickly realized that a flat bottomed boat displaced the water far better than a canoe or sailboat shaped design. Their ships would need to resemble cargo ships more so than a sleek racing boat.

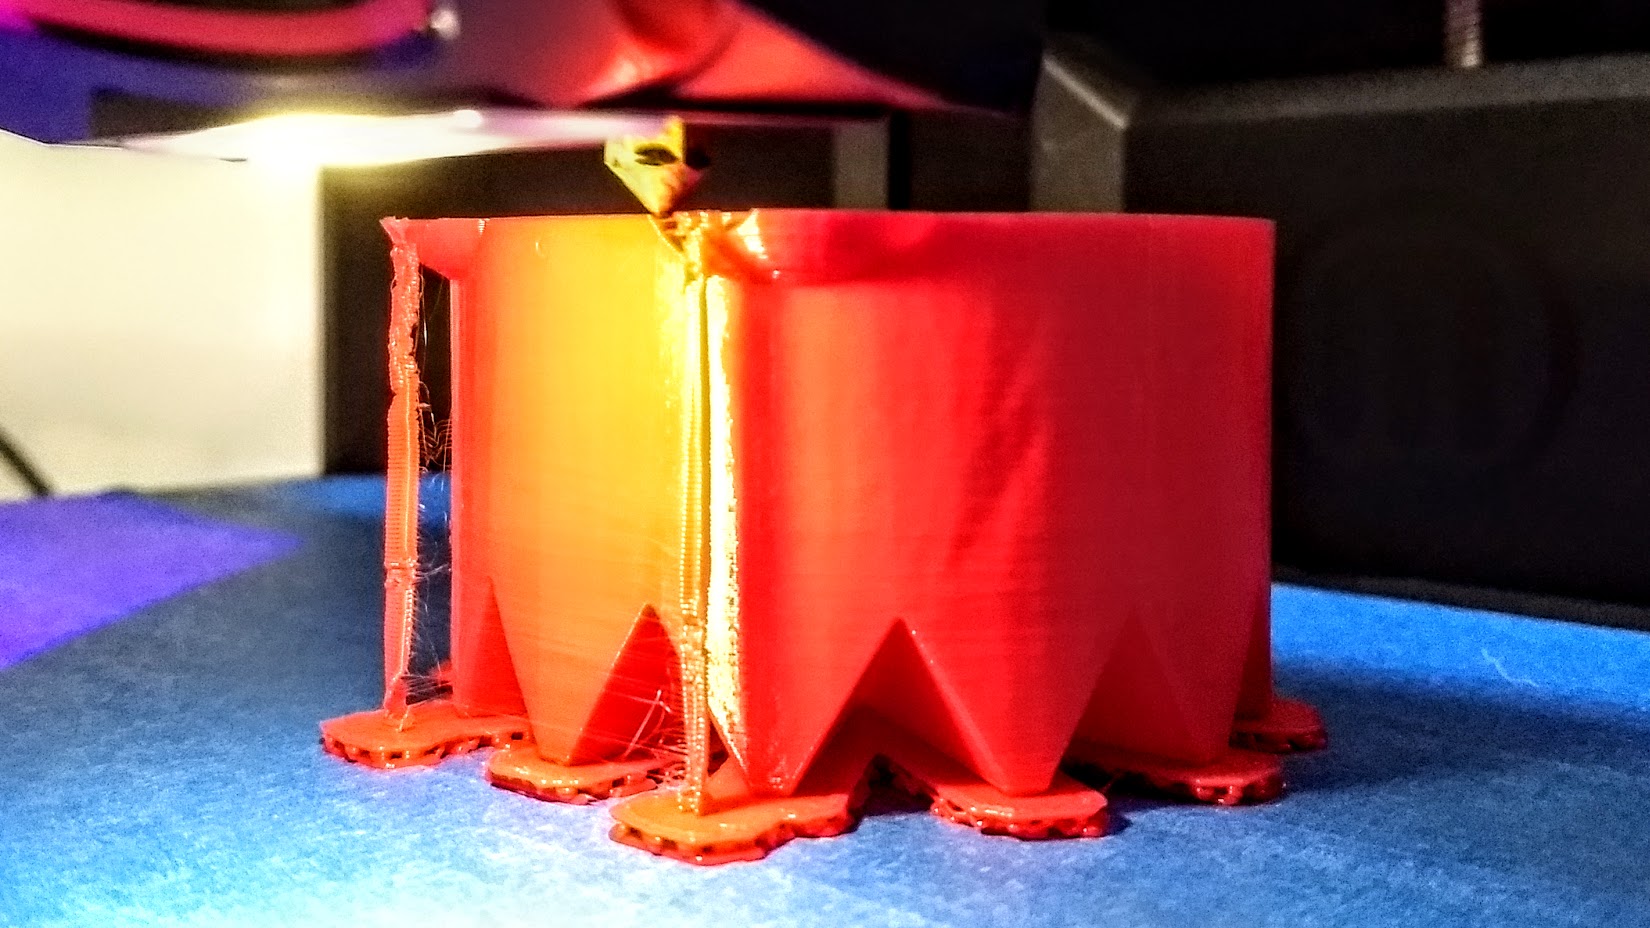
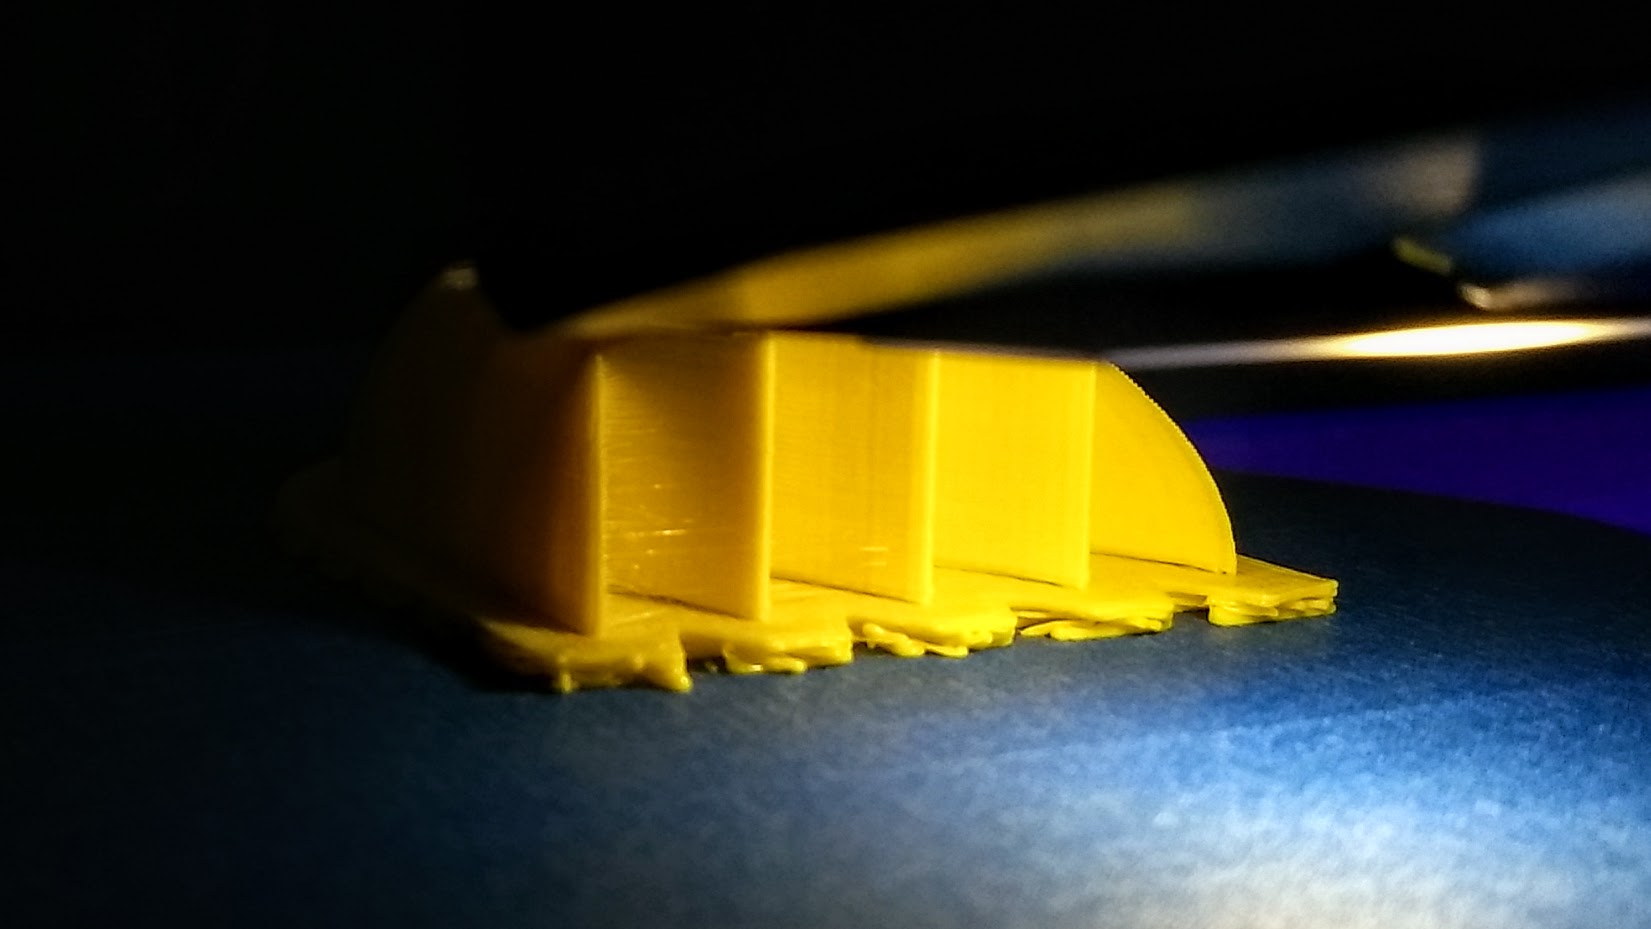
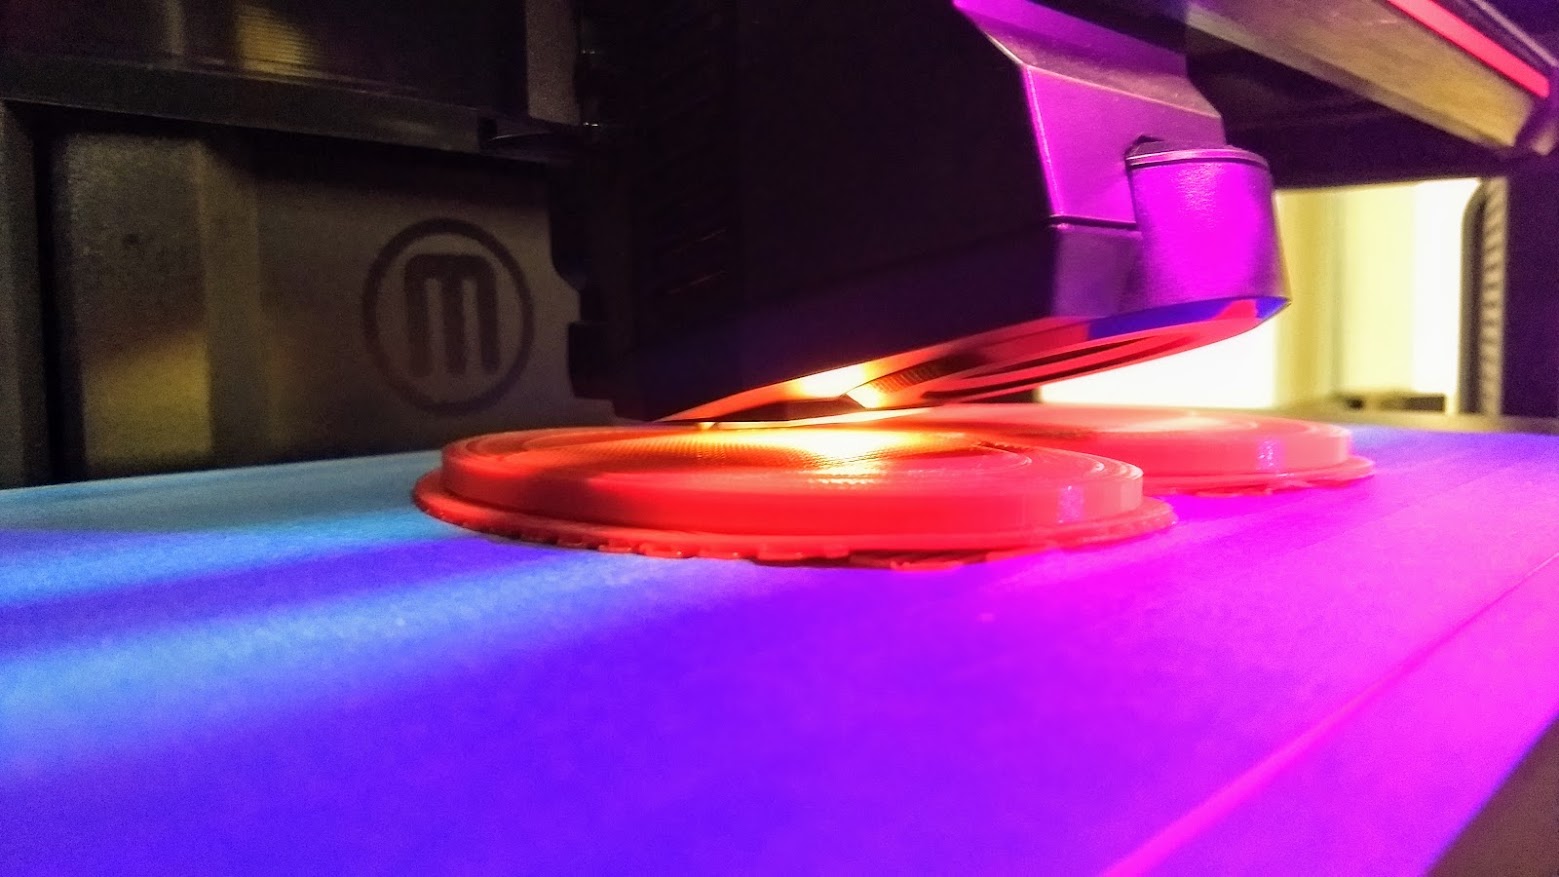
Our students have now developed 3D design skills, acquired some basic knowledge on floating boats, through trial and error built their own model ships and will now begin designing their own 3D printed boats. Will they be able to perform the 30 penny holding aluminium foil boat? We will see…

3D Printing Is Amazing When All Goes Well

When everything works correctly with the 3D printer you have this amazing spectacle of an object created out of thin air. This isn’t a fast process by any means, even small objects can take hours to print from start to finish. If you are imaginative you hang an old cell phone with tape to the side of the printer and use an app to take several hundred pictures of this action. (I should have taken a picture of this highly technical setup…) After all that you can create a time lapse video of the printing process like the one below:

The green thing printing in the video was a hook and bracket for mounting a cell phone on the side of the printer for taking pictures or video. It was a great idea and fit on the printer well but ended up getting in the way of the extruder as it moved along path. It looks like I’m sticking with the tape for the time being.

Now, I am not saying that our 3D printers are wonky or unreliable, they work flawlessly 90% of the time. Yet when a print does fail, it tends to fail in a spectacular way. The raft can work loose from the bed, even with blue tape put down, and create gobs of plastic spaghetti until you stop it. Sometimes a print just fails when the extruder gobs plastic in one spot melting a chunk out of your print. The pictures below are good examples of these phenomena.

plastic spaghetti

This is a great, yet unfortunate, example of plastic spaghetti

3 hours in and the 3D Printer destroyed its hard work with a blob of filament

At this point both of our MakerBot Replicator+ 3D Printers are working very well. They needed a little tweaking here and there but are ready to be put into full time use printing out student projects. I can’t wait to see what they will create!

The Perils Of 3D Printing

OK, 3D prints are printed on top of a raft that is supposed to adhere to the build plate. This is a great idea, in concept, but in reality this doesn’t always work out. The raft creates a stable base for the 3D object to print on but what happens when the raft doesn’t have proper bed adhesion? You end up with a 3D printer full of plastic spaghetti depending on how long this goes on before you notice. We have had this happen a few times and I didn’t think to take a picture until after the mess was cleaned up.

The raft is the flat orange squished part on the printer bed and the object we are printing is the orange thing on top of the raft, hopefully that makes sense

A second issue we have had a larger problem with is the corners of the raft and print curling up during printing. This can be caused by poor adhesion and/or the print cooling to fast. Our Makerbot Replicator+ printers do not have heated beds, the print bed has a grip surface that is supposed prevent warping or curling. I have made every attempt to keep the surface clean but prints tend to curl up at the corners, especially on longer prints. The end result is a distorted object due to corners pulling up.

I found an article on Makerbot’s website titled Keep Corners Flat With Makerware’s Helper Disks that detailed using flat circles at the corners of your print to hold your print down the bed better. Unfortuantely this didn’t help much.

Even with the helper disks our 3D prints curled at the corners

Luckily there was some scotch tape handy and I was able to tape down the help disk as it started to curl up from the printer bed. The object printed out with minimal distortion and was’t ruined. I consider it a “win.”

In my search for better print bed adhesion I learned there are things like Kapton tape that is designed to create strong adhesion and allow the filament to stick well to the print bed. Unfortunately this tape tends to be expensive and appears to be difficult to use. Then I learned that many folks have had success using blue painter’s masking tape.  I happened to have a roll at home and figured it was worth a try:

Success! No curling or peeling

Print sticks to raft, raft sticks to blue tape

No helper disks, just blue tape

The blue tape is holding up well

The blue tape seems to be the solution for the time being and has held up well over several prints. It’s relatively cheap so replacing it is not much of an issue. Hopefully this solution to warping and curling prints continues to work.

3D Printing & Living In The Future

Having 3D printers in our school is a a wonderful thing, it feels like the future. To be able to print out pre-made objects is fun. Printing out self made objects is is exciting. Printing out student objects is amazing!

This past school year was very much a learning process for us. Taking an idea from concept to an actual object you can hold in your hands is quite a process. We have had both successes and failures and the students have probably learned more than me about 3D printing and design.

Premade 3D object printing out from Thingiverse

Student created designs using Tinkercad being printed

Teacher created object created in Tinkercad

More student desgins printing out

Our printers are Makerbot Replicator+ models and so far have been reliable as well as accurate. We have made some plastic spaghetti but not much! We have been using the free web based software from Tinkerad to design our projects in. The students quickly learned how to manipulate their designs in 3D, spatial recognition is much more natural for them then the adults. Could it be the video games?