The easiest way to get to the website is by directing the students to my website, Mrerrico.net, have them click on Student Resources in the top menu and finally click on the TypingPal link.
Once logged in the students click on Learn in the top left corner of the page.
Students must take the Initial Test first, the icon for it is a paper airplane
After taking the Initial Test students will work independently through the steps: Step 1, Exercise 1, Exercise 2, Exercise 3, etc.
Logins for TypingPal work as follows:
Students log in with their Student ID number for both Username & Password. All students K-5 have accounts.
All homeroom teachers have accounts, not co-teachers or other area teachers. The system only allows 1 teacher per class, unfortunately. Teacher logins are last name, first initial: smithj, for both username and password.
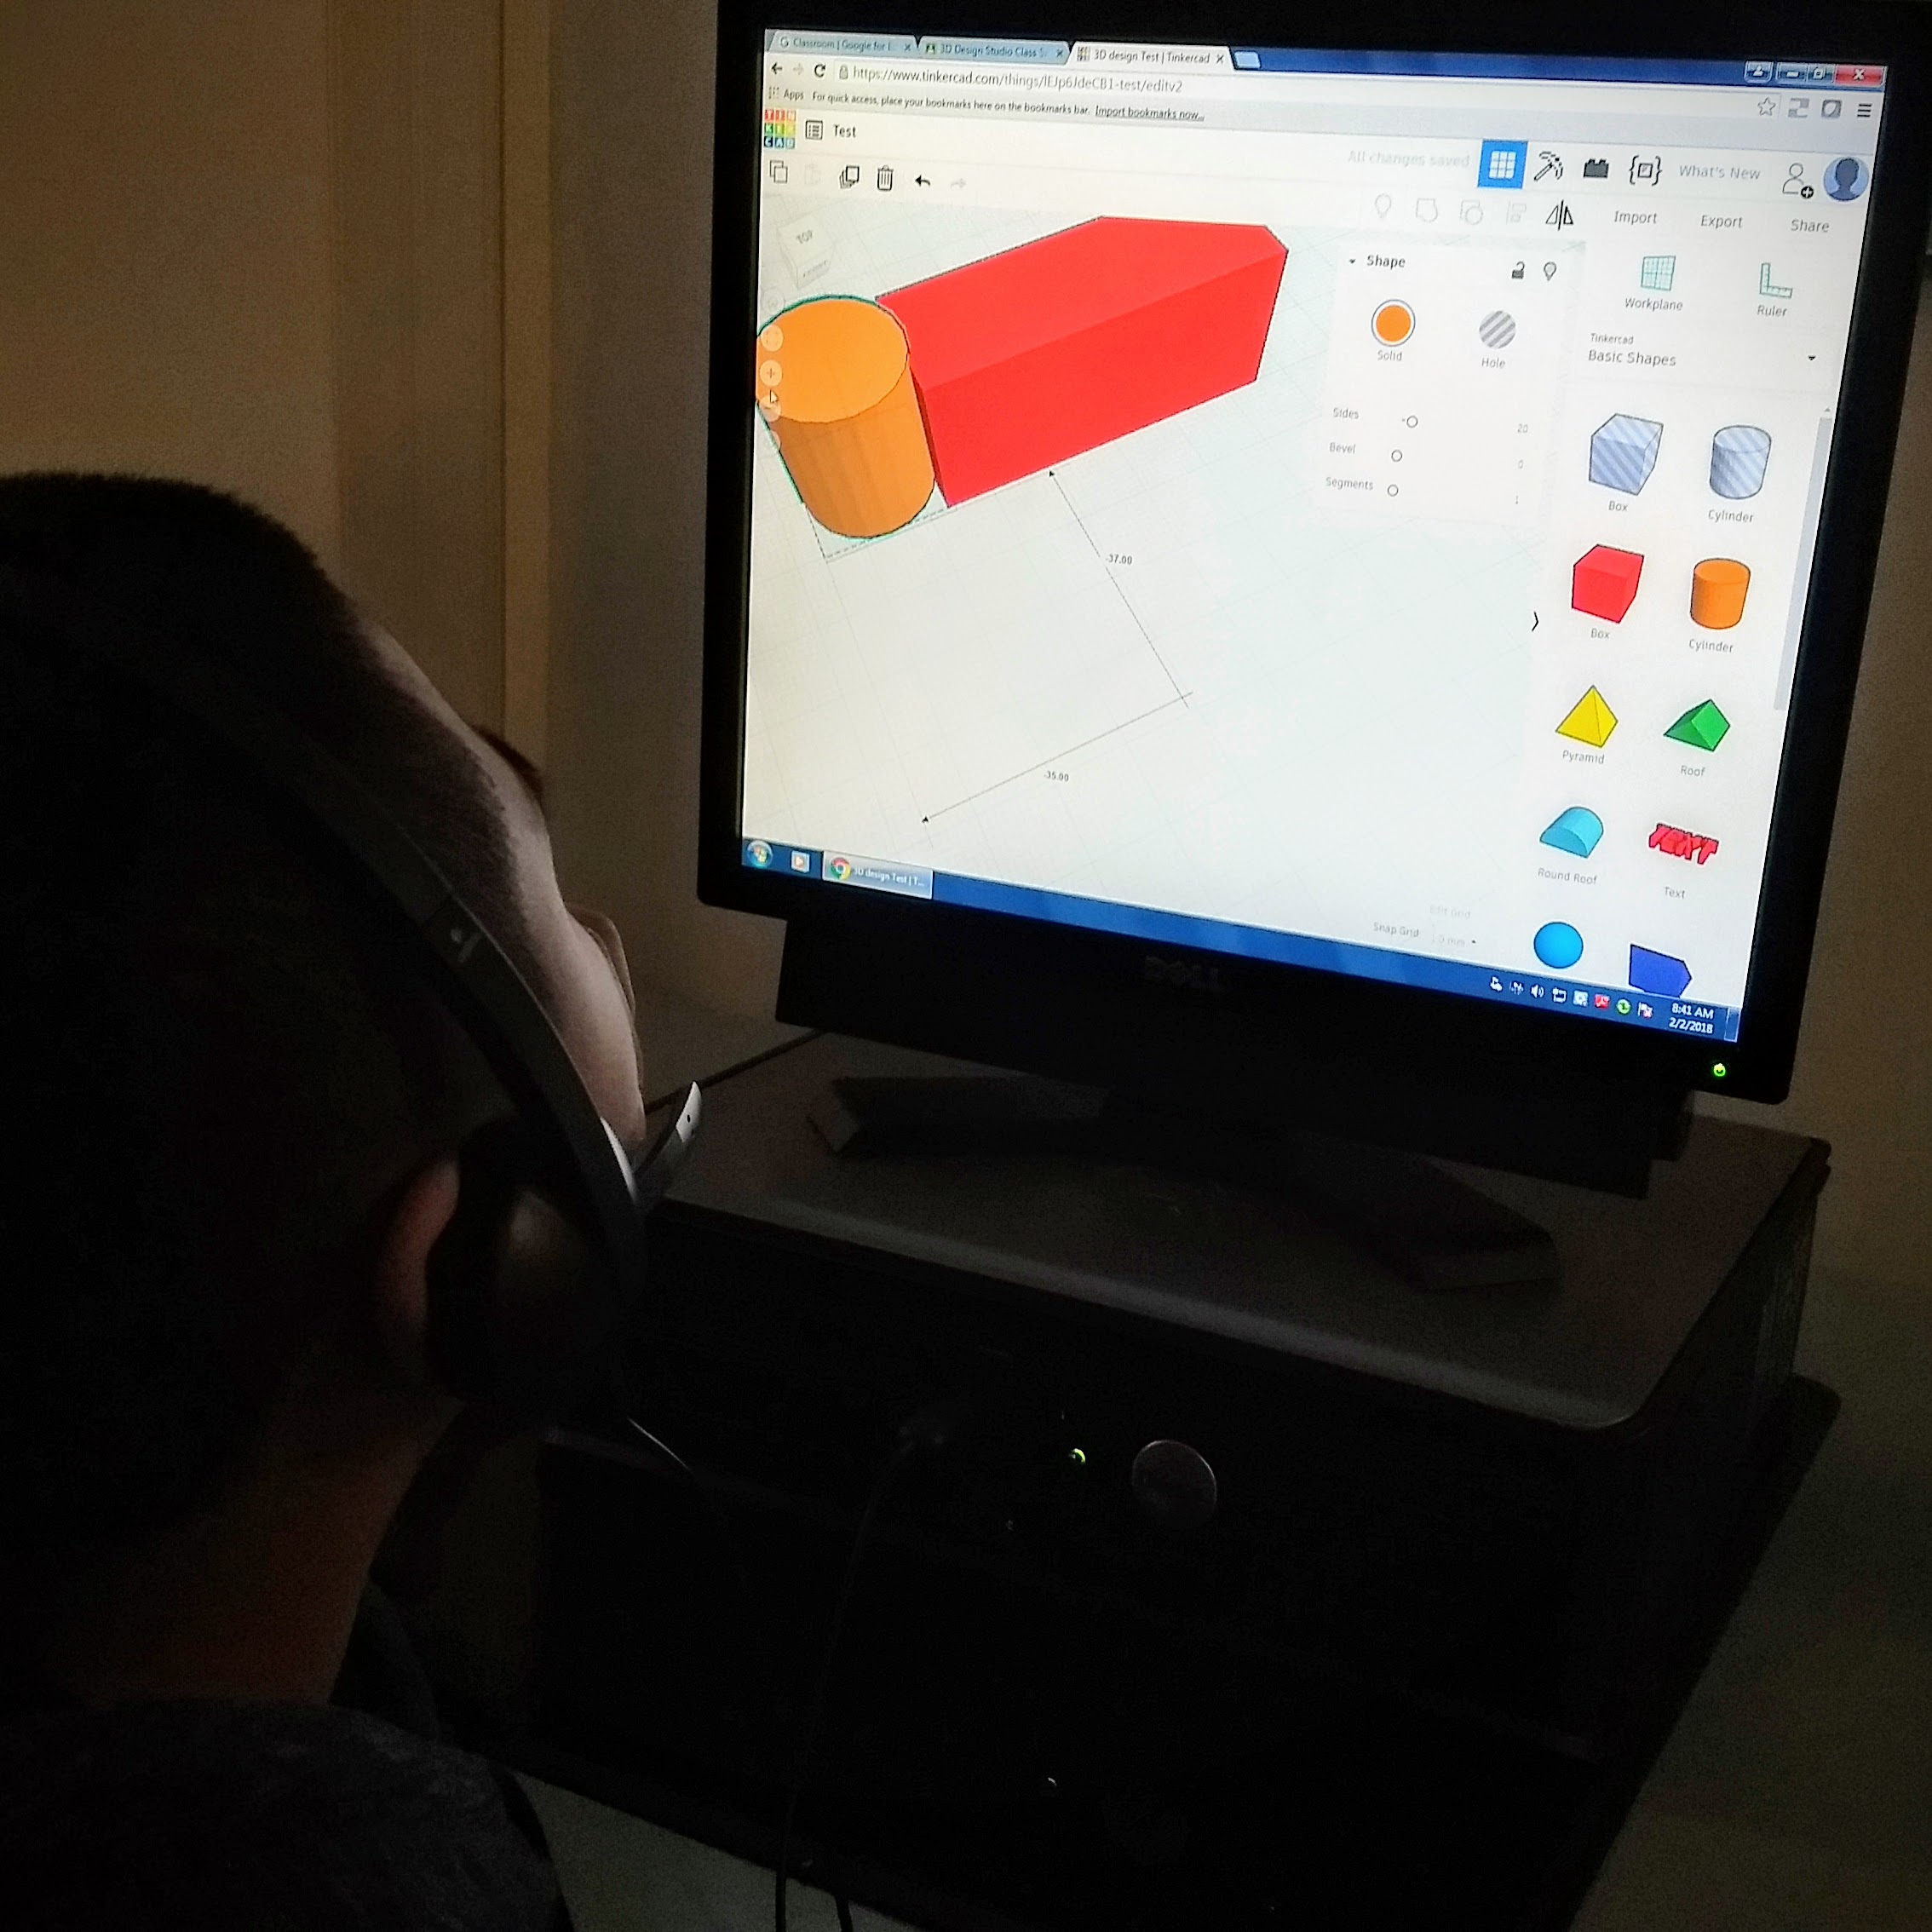
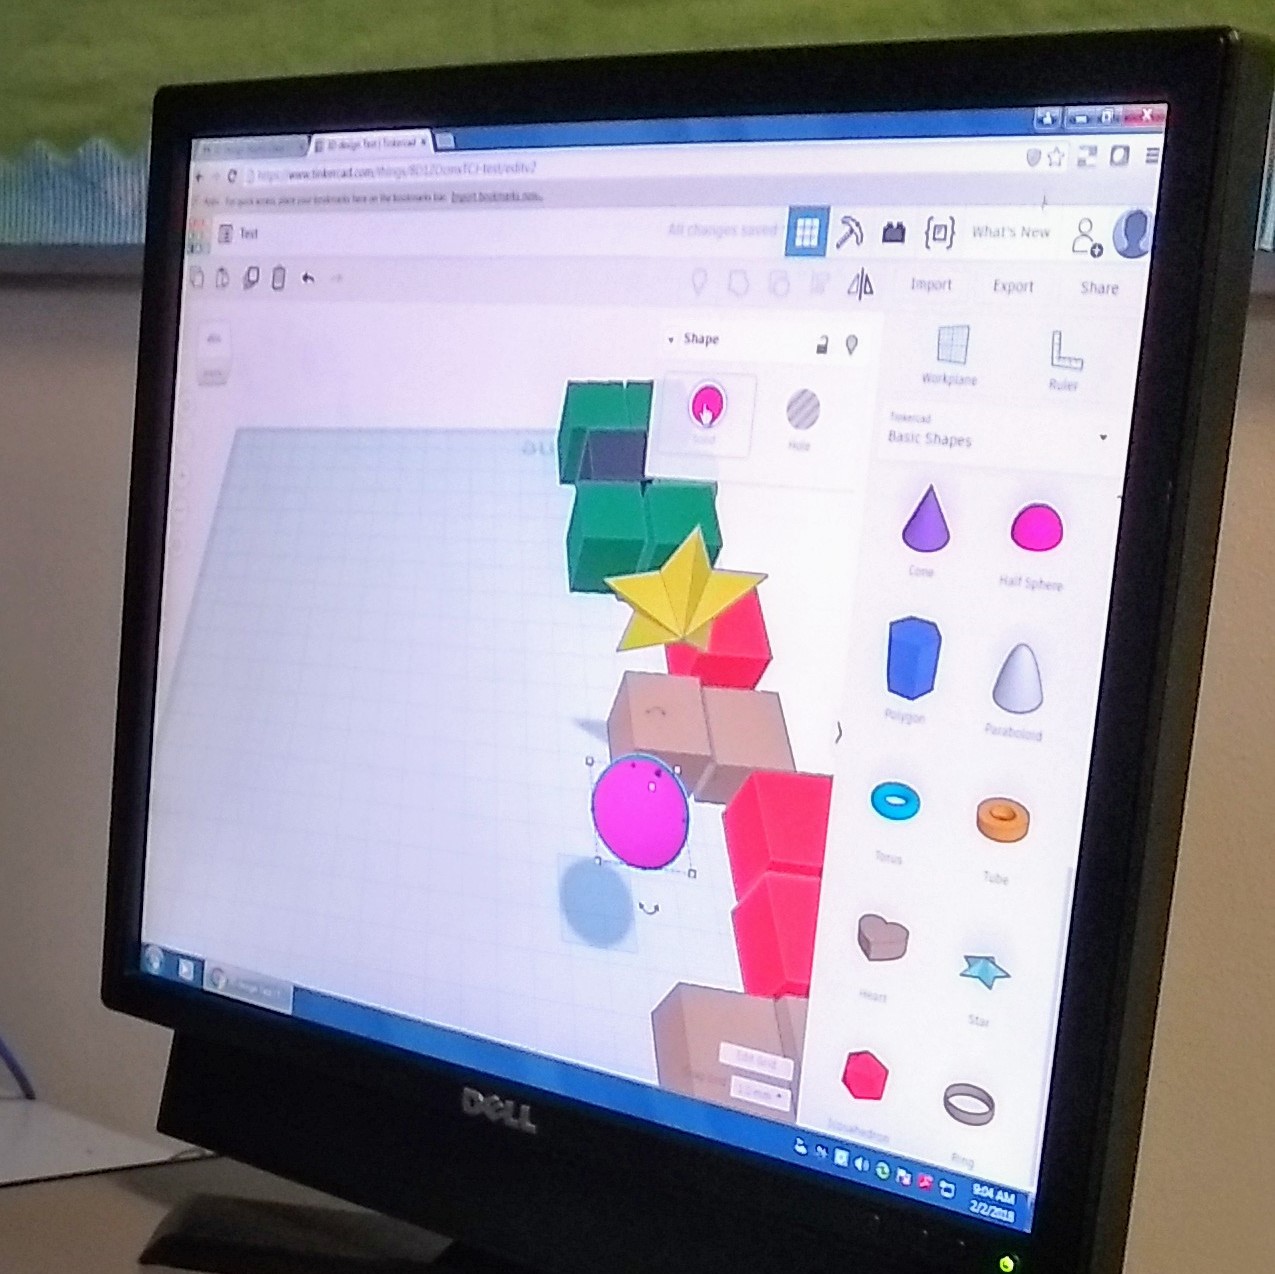
Over the past few weeks our 3D Studio students have been learning the basic tools and commands of Tinkercad. Their progress has been been a pleasant surprise, as digital natives the students come to my lab with many skills already in hand. Thanks to touch devices students understand zooming and rotating objects on screen. In addition I think video game experience plays a large part in the understanding of how to engage a 3D world and control a 3D camera. Hours of Mario and Madden Football have prepared them for this moment. All has not been easy as learning the intricacies of the software and how to effectively manipulate objects in exacting 0.05mm increments has been a bit of an uphill climb.
Making sure objects touch to create a larger object has been a tough task
Using Tinkercad’s library of pre-defined shapes to build… something
Now that the students have grown confident in design skills I have presented them with a challenge:
Design a 3D boat that can hold the most pennies possible before sinking.
To prepare for this challenge we took some time to learn about boats, what makes them float and how material and shape effect the design of a boat. After having a discussion about what the students thought made boats float we went to the YouTube (where else?) to learn more about boats and how they float:
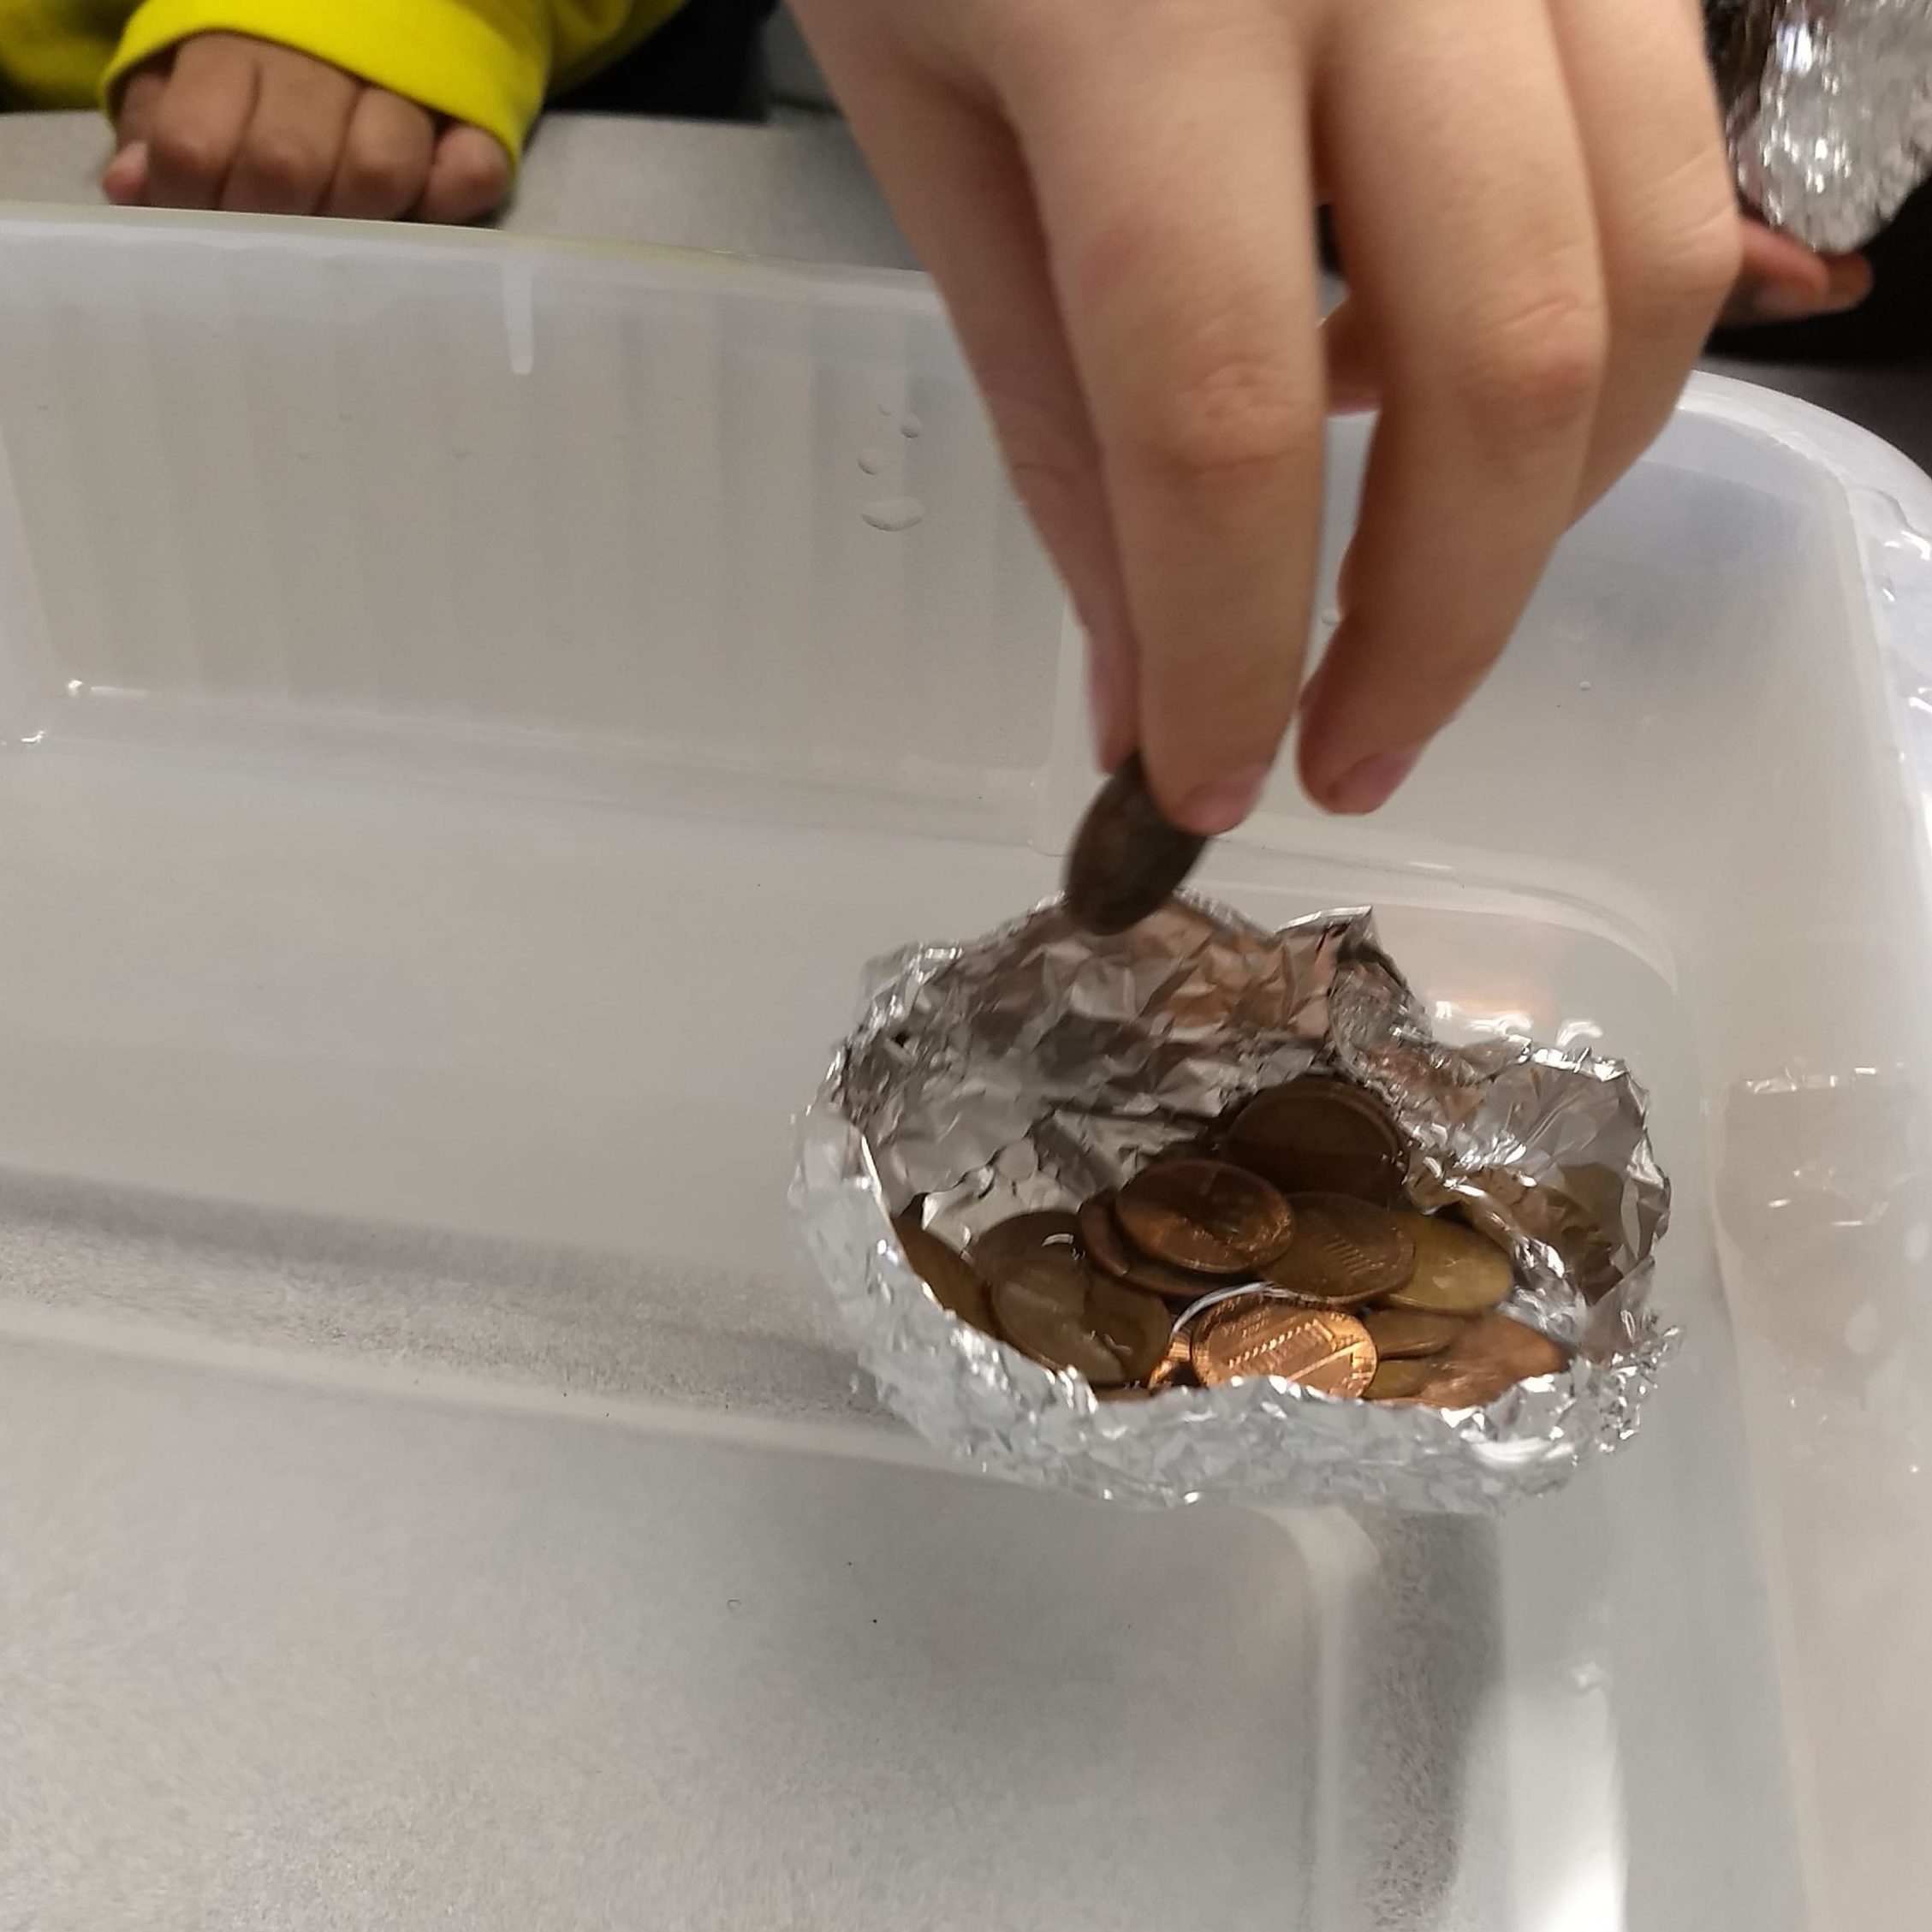
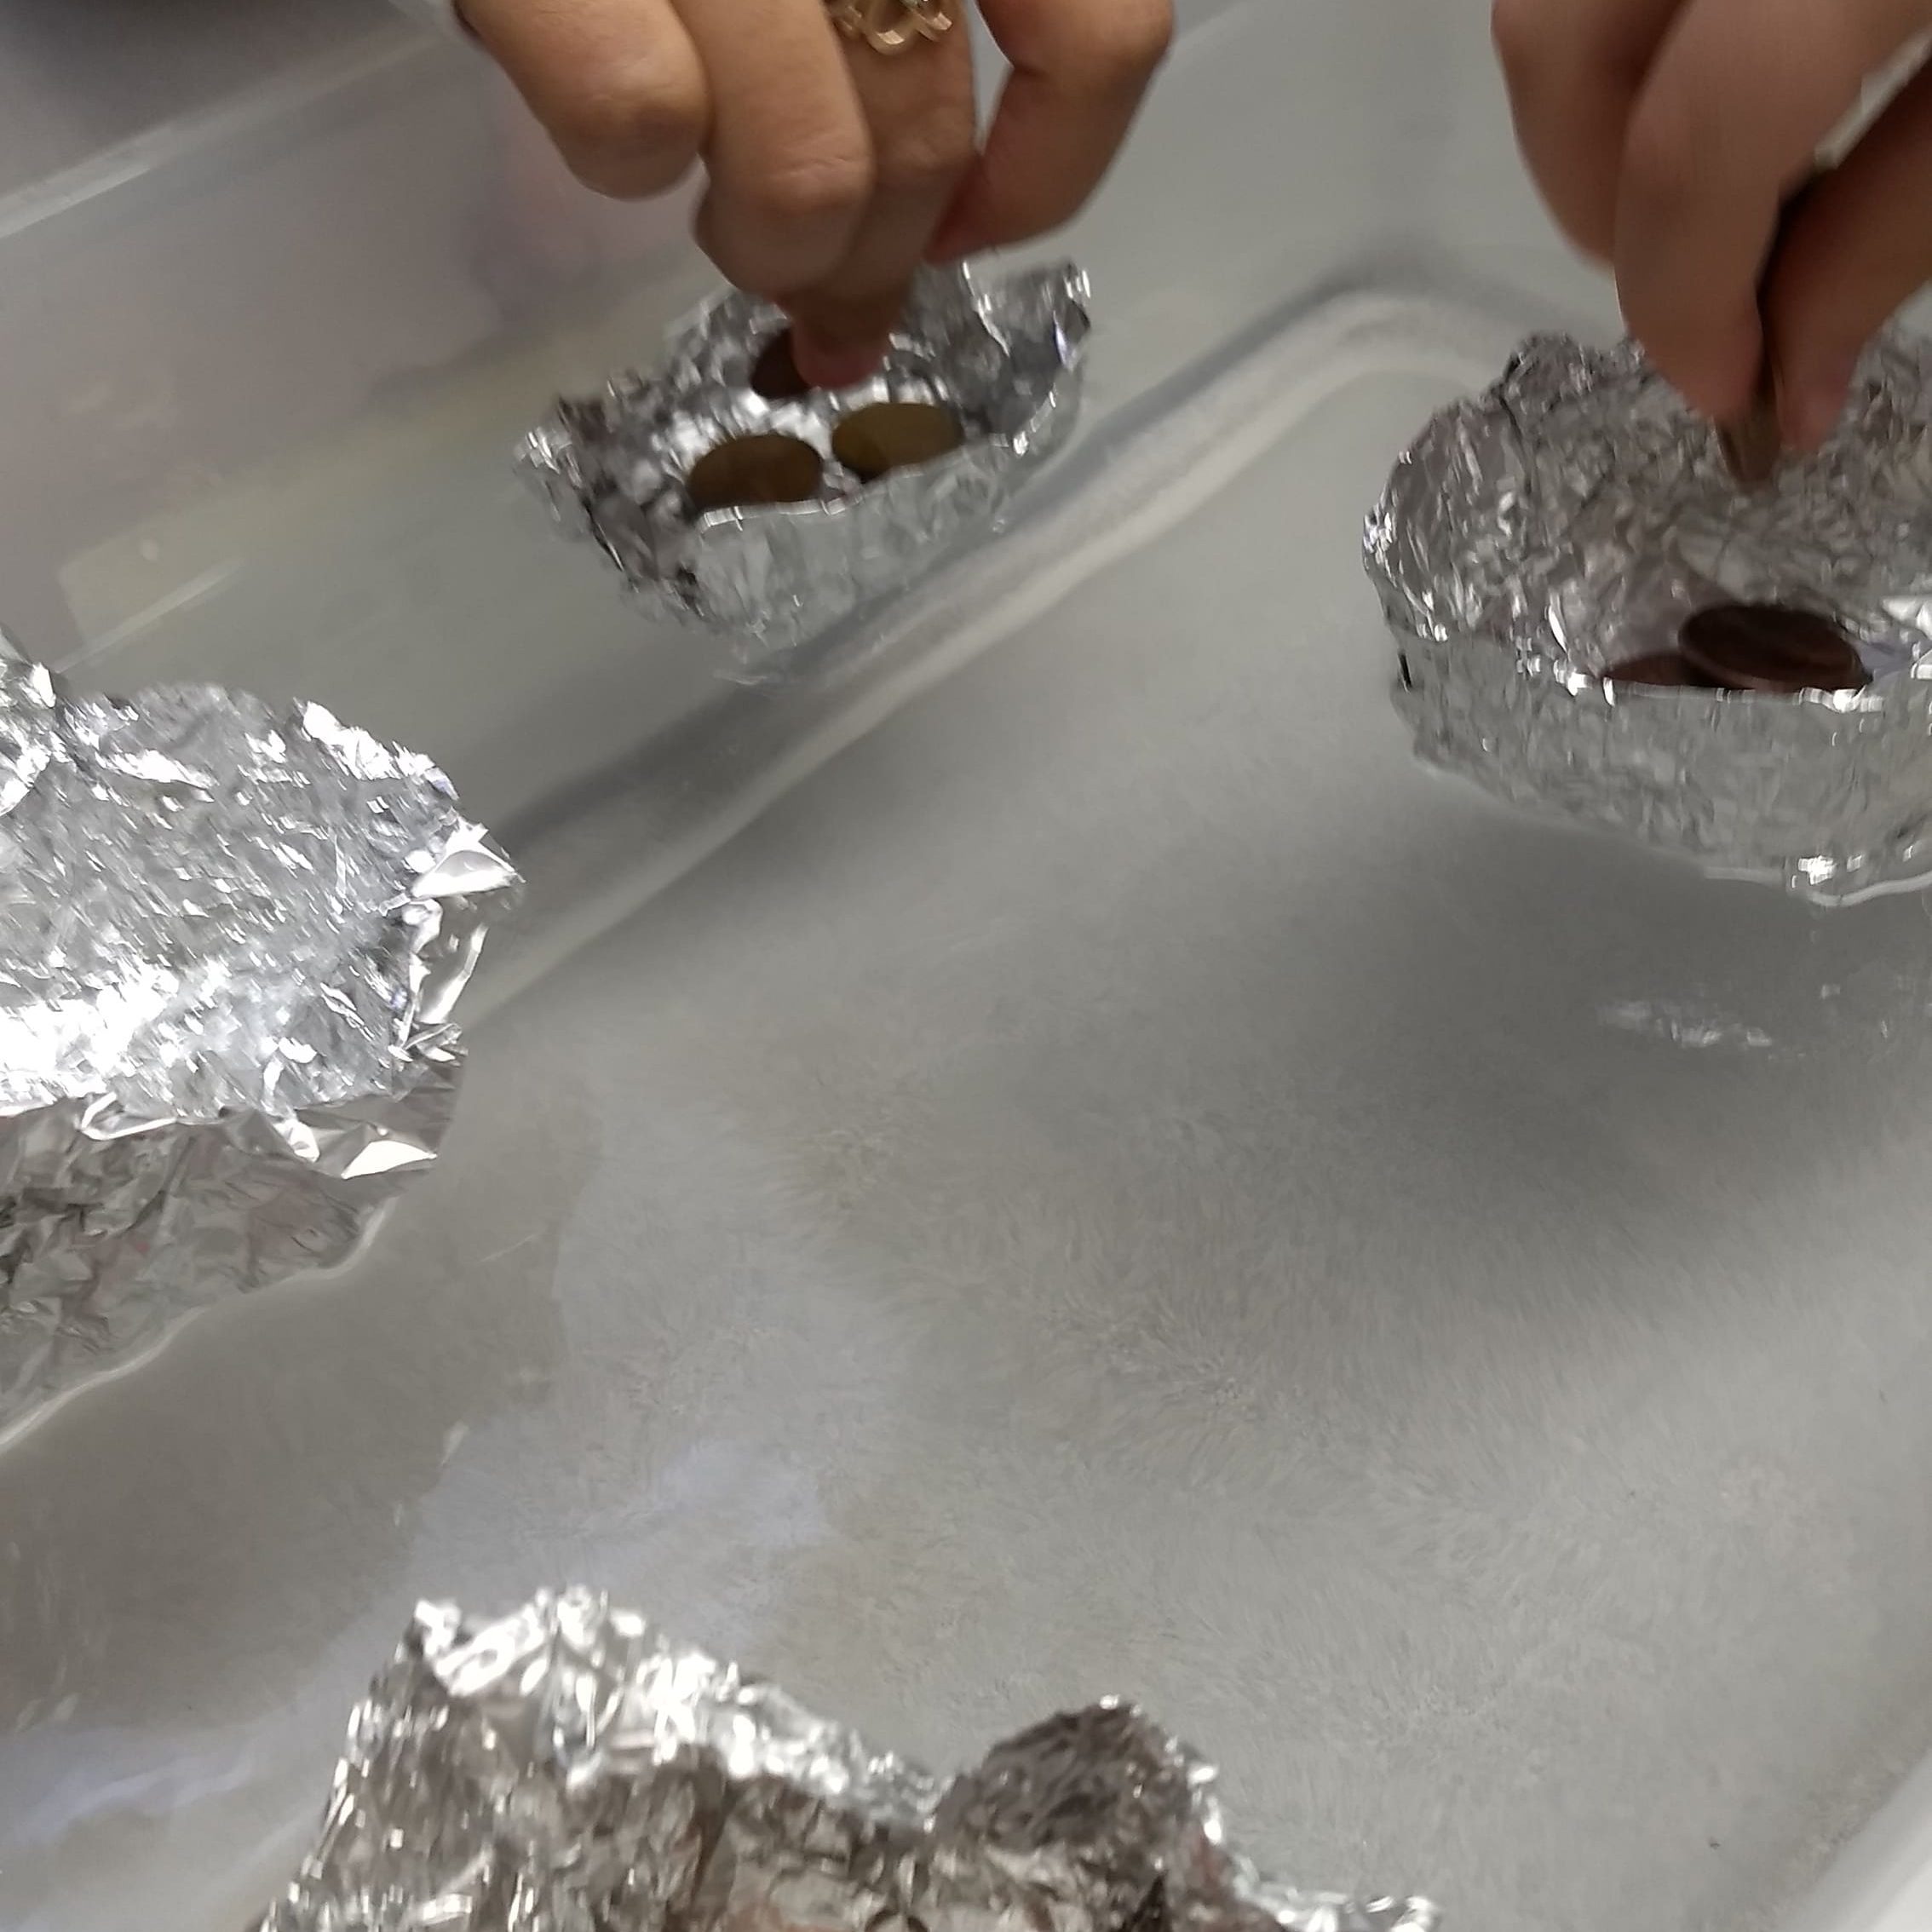
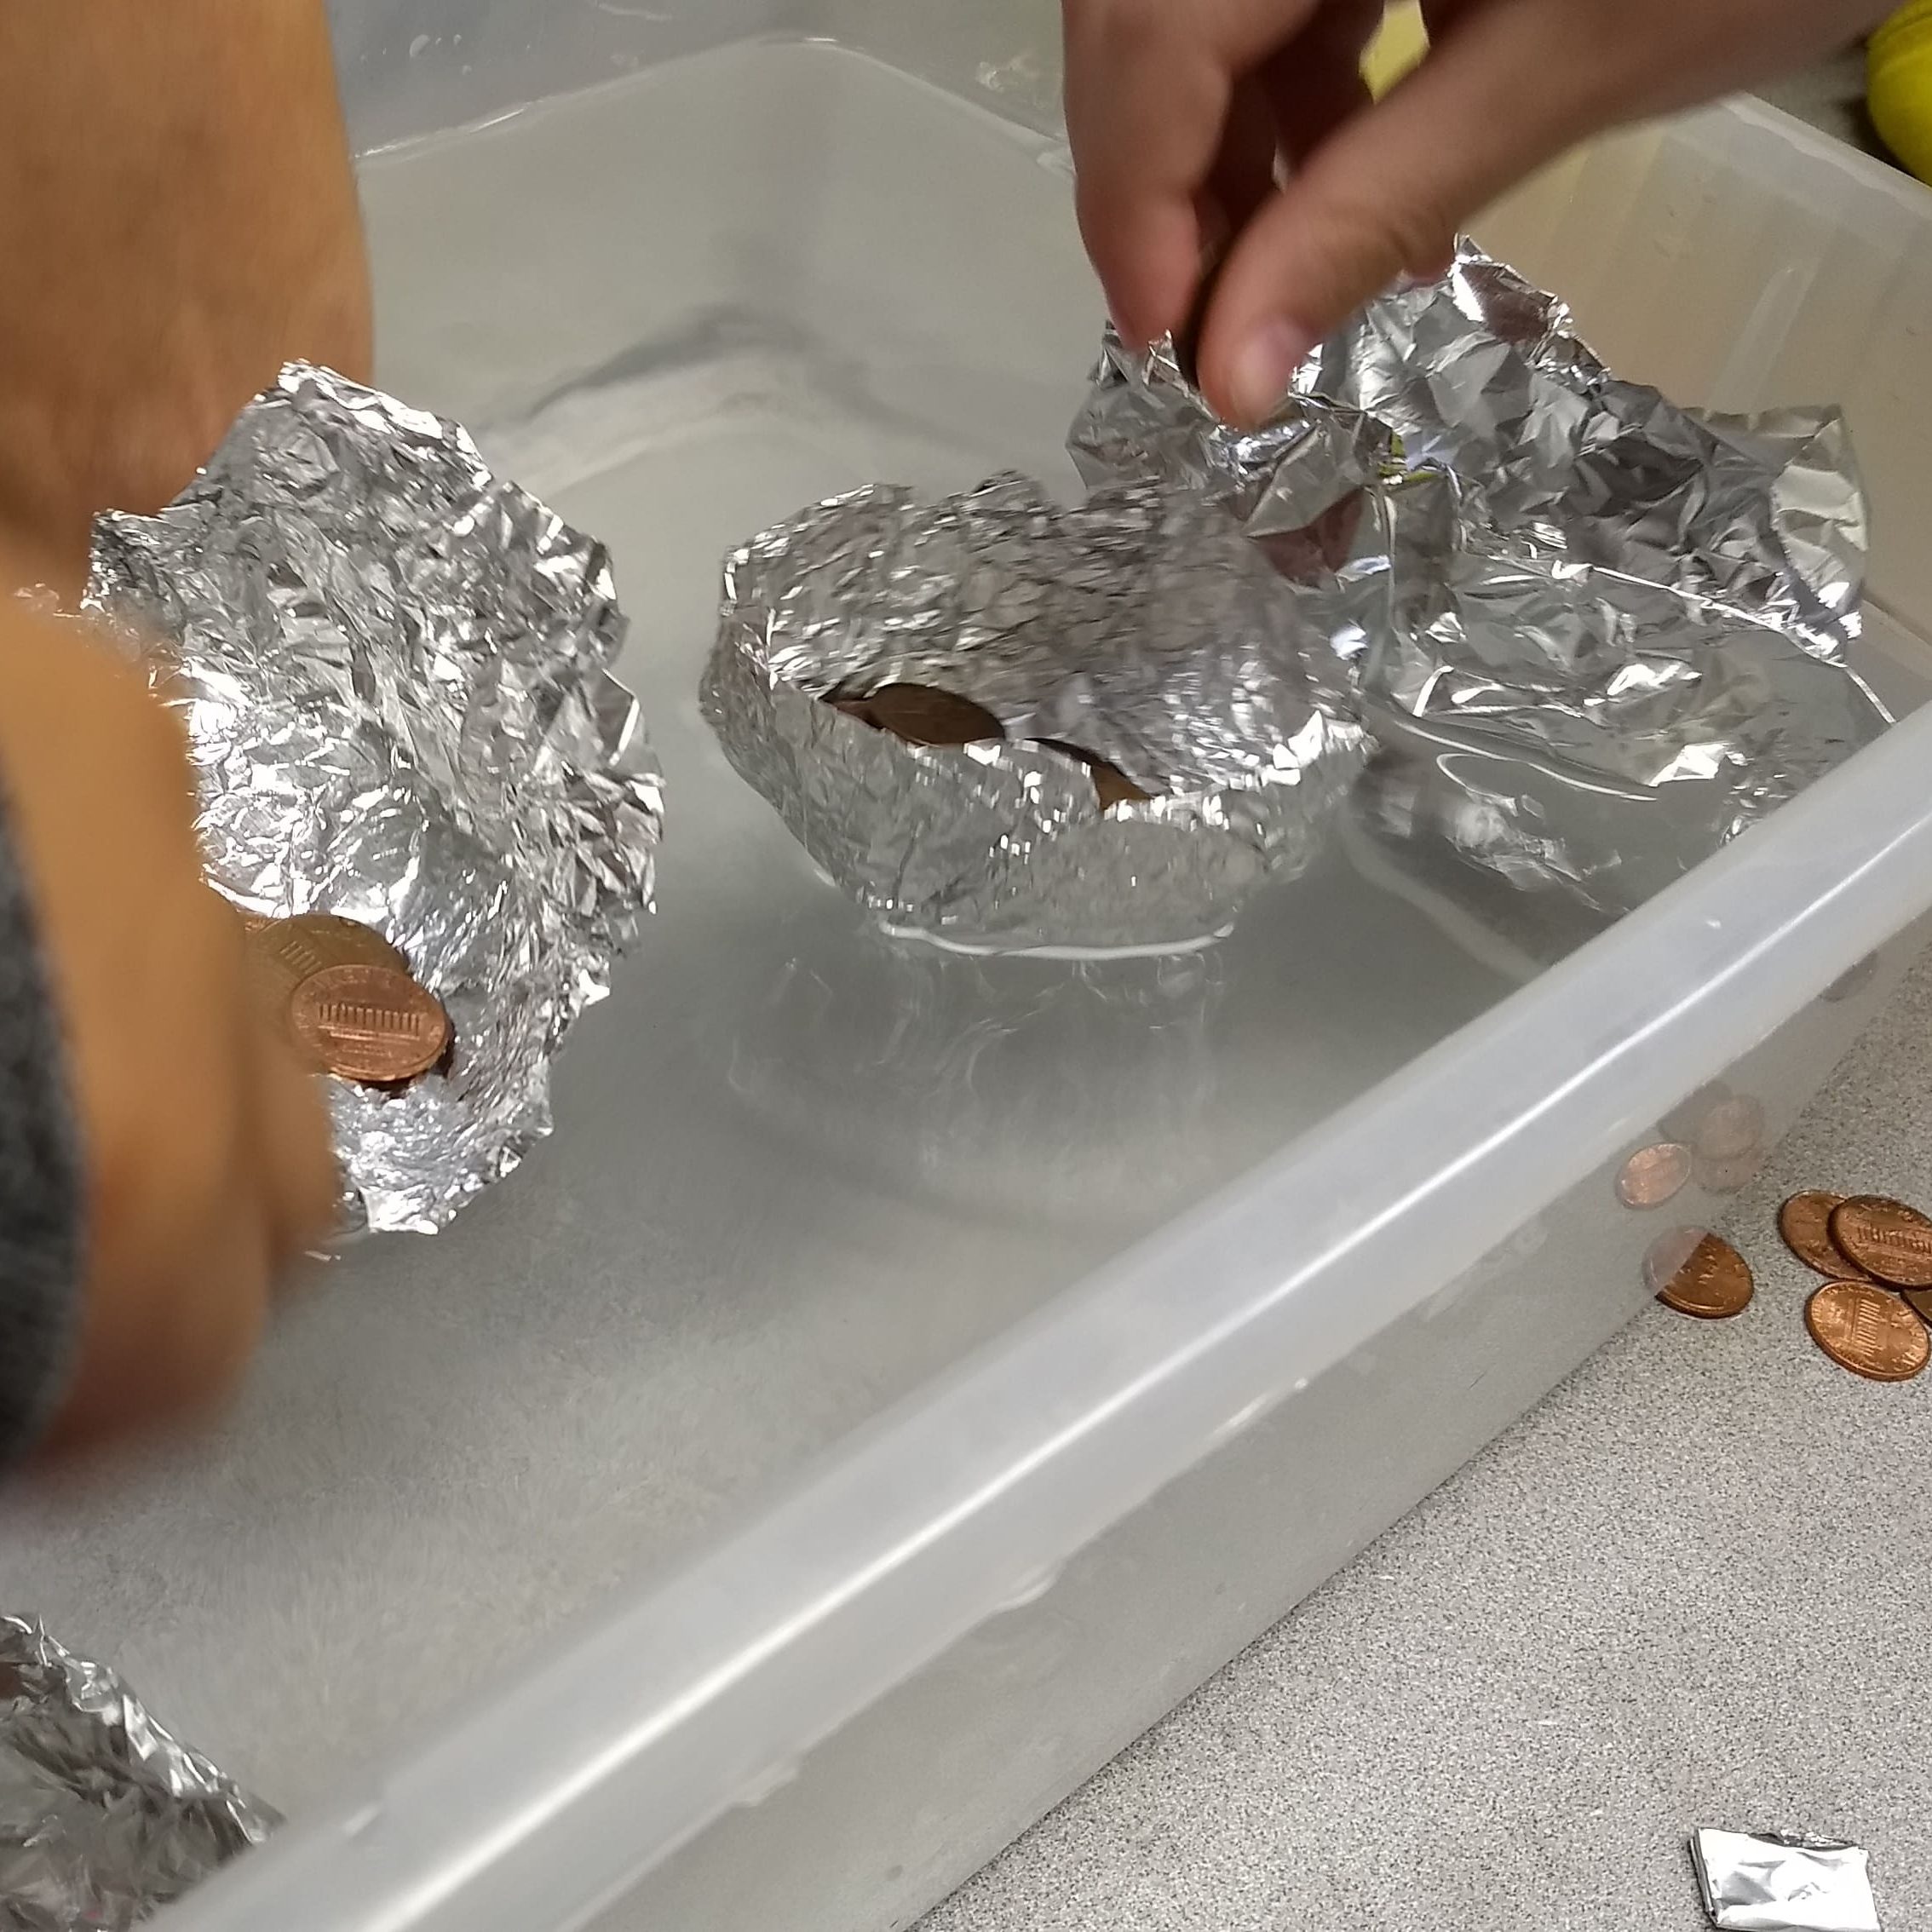
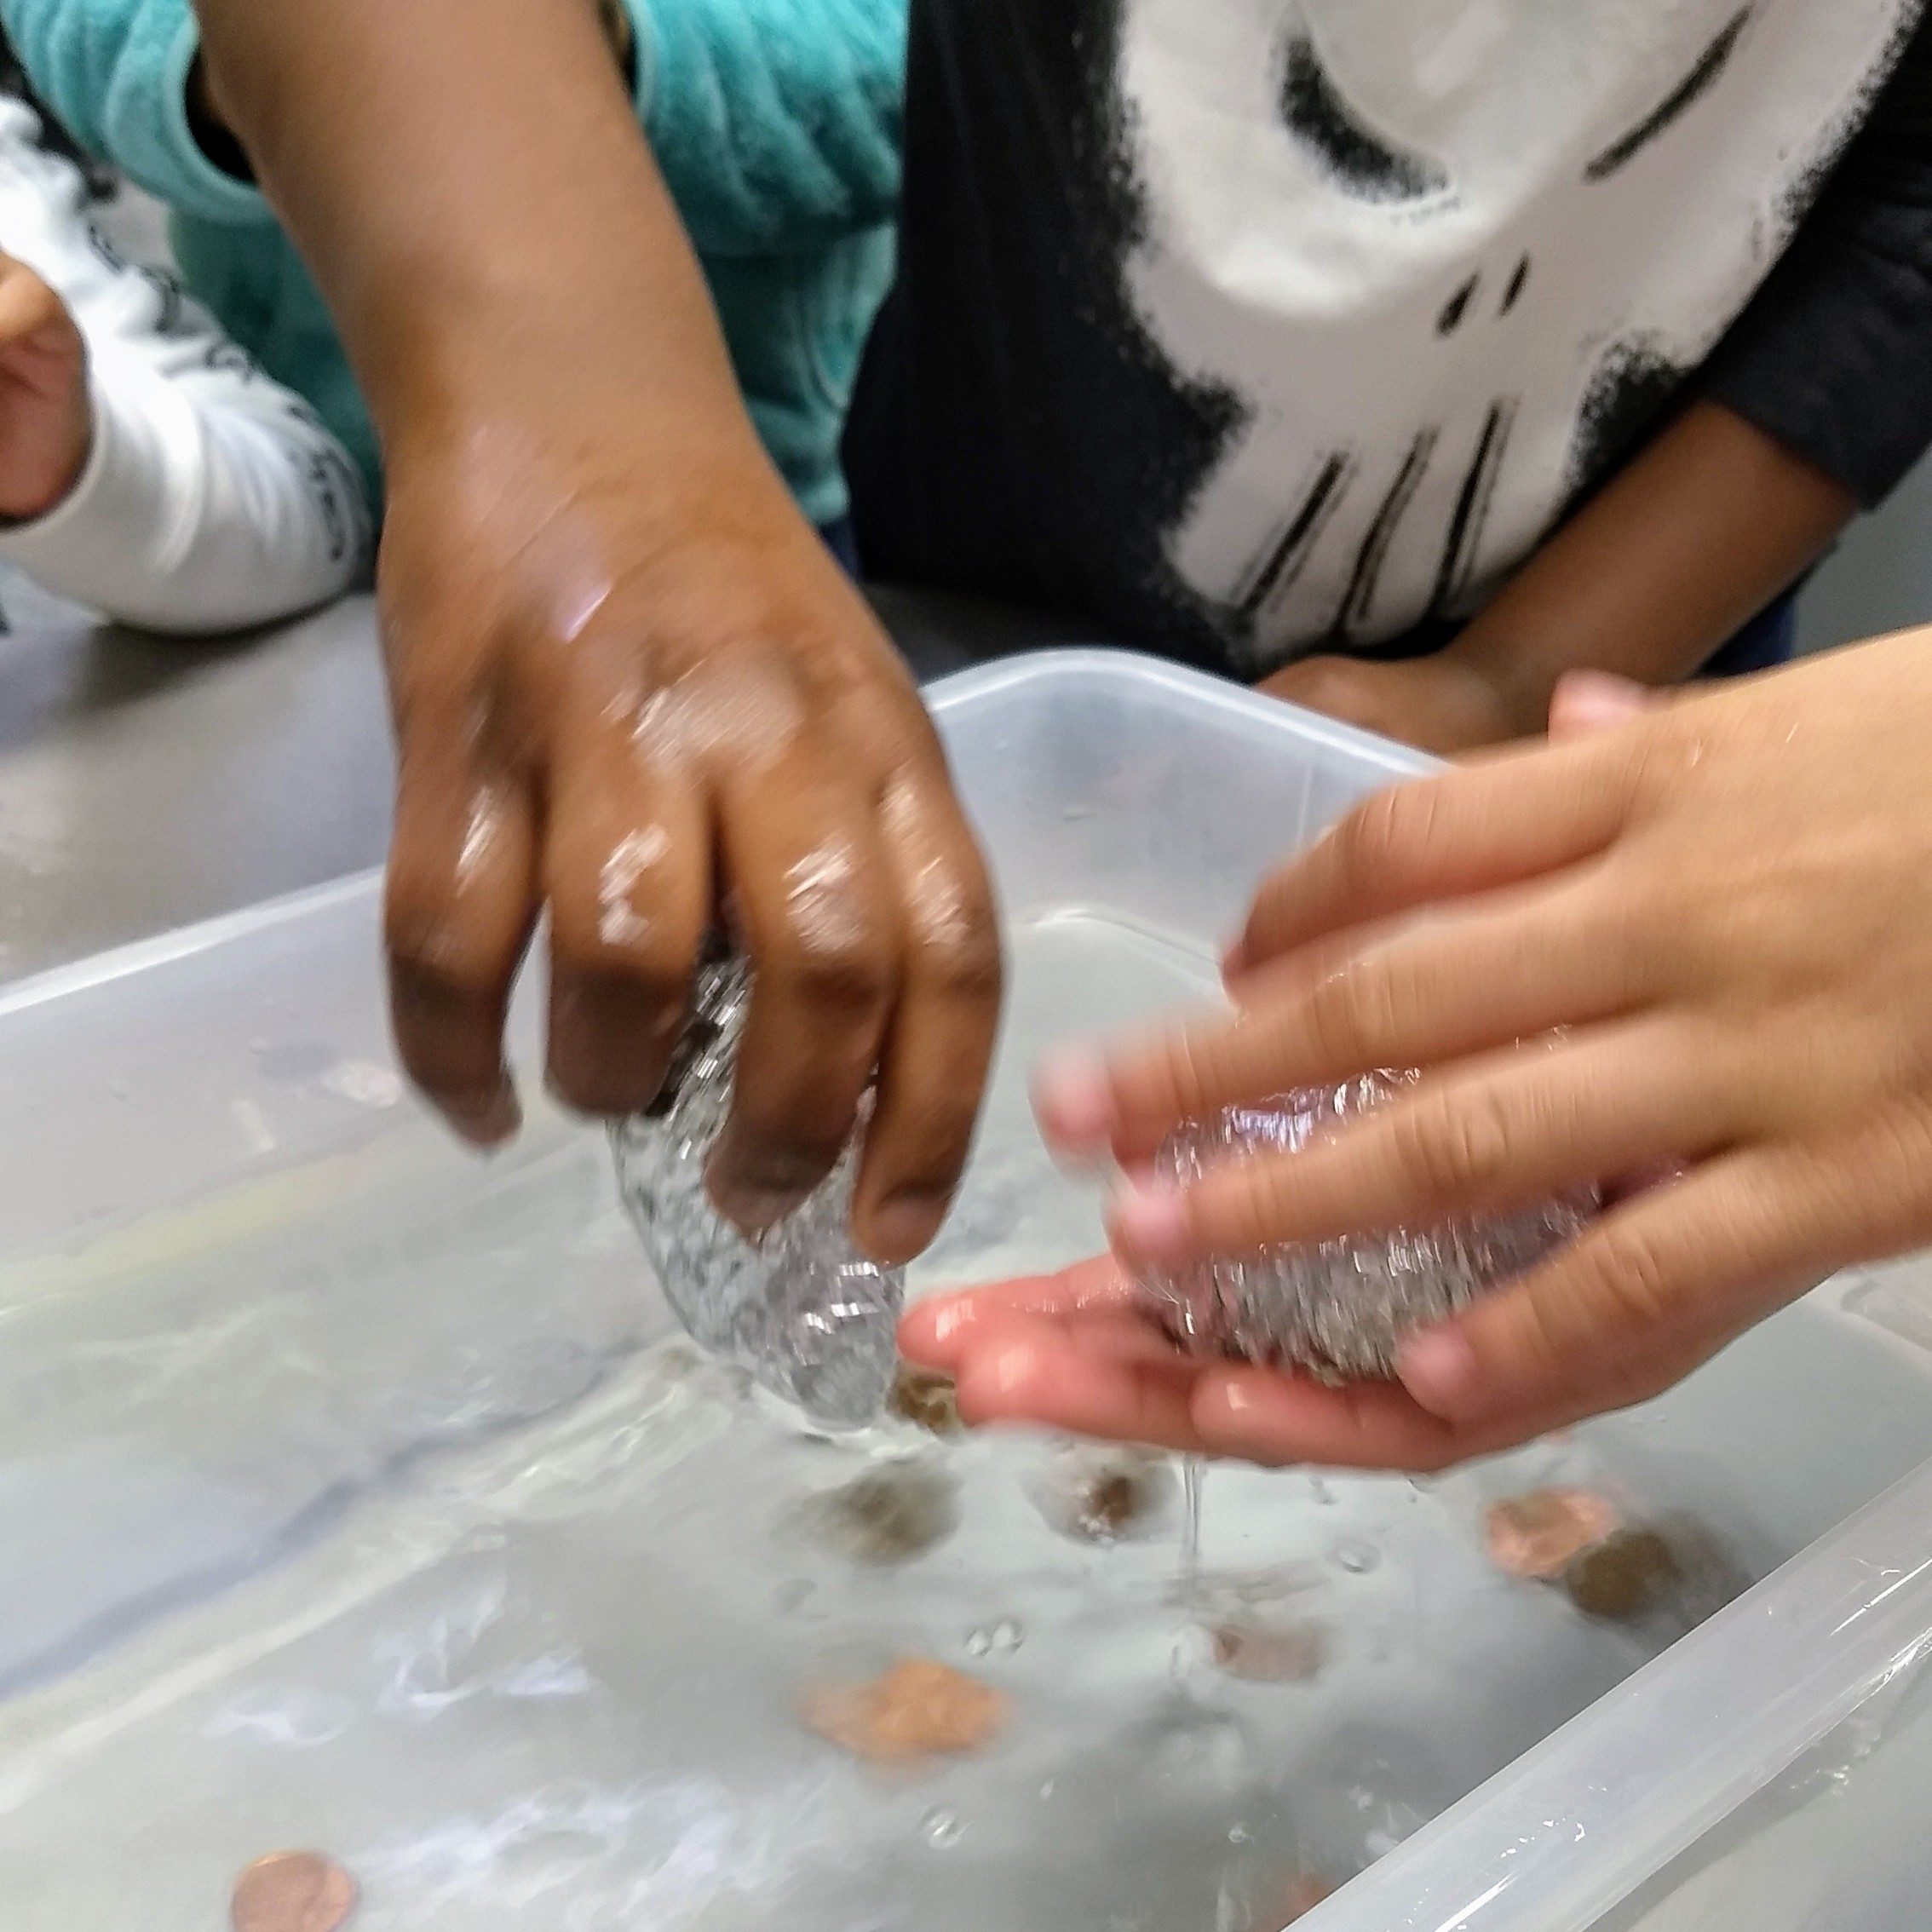
In order to test out the students newly acquired ship building knowledge we did an activity where they created boats out of aluminum foil. They first tested the sea worthiness of their boats and if they passed the test we loaded the boats with pennies until they sank. The boat that held the most was filled with 30 pennies before it sank!
The students quickly realized that a flat bottomed boat displaced the water far better than a canoe or sailboat shaped design. Their ships would need to resemble cargo ships more so than a sleek racing boat.
Our students have now developed 3D design skills, acquired some basic knowledge on floating boats, through trial and error built their own model ships and will now begin designing their own 3D printed boats. Will they be able to perform the 30 penny holding aluminium foil boat? We will see…
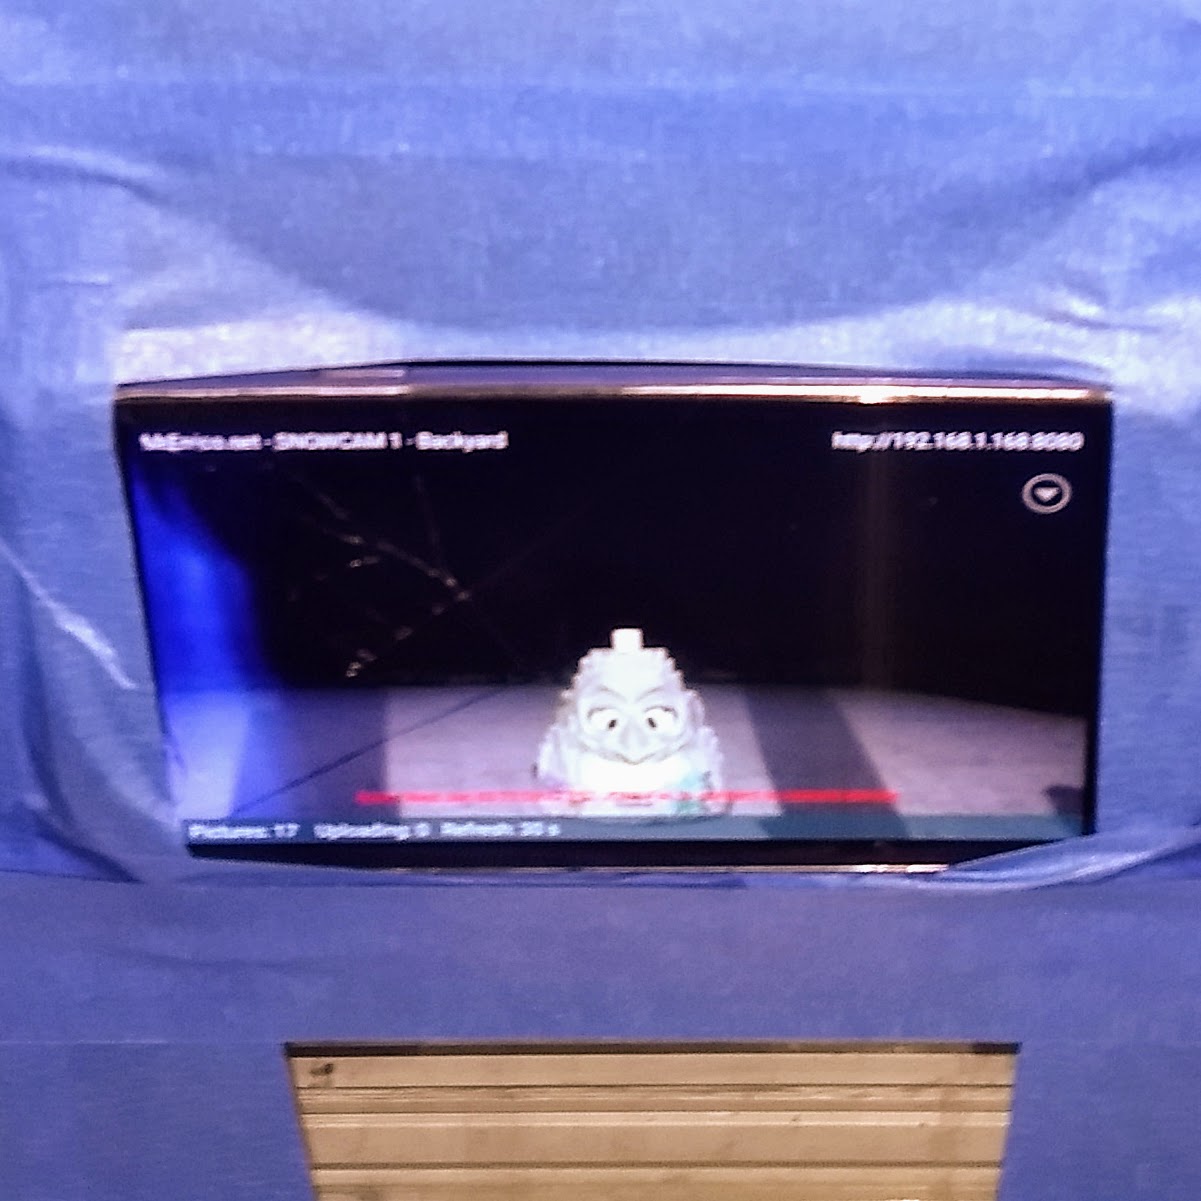
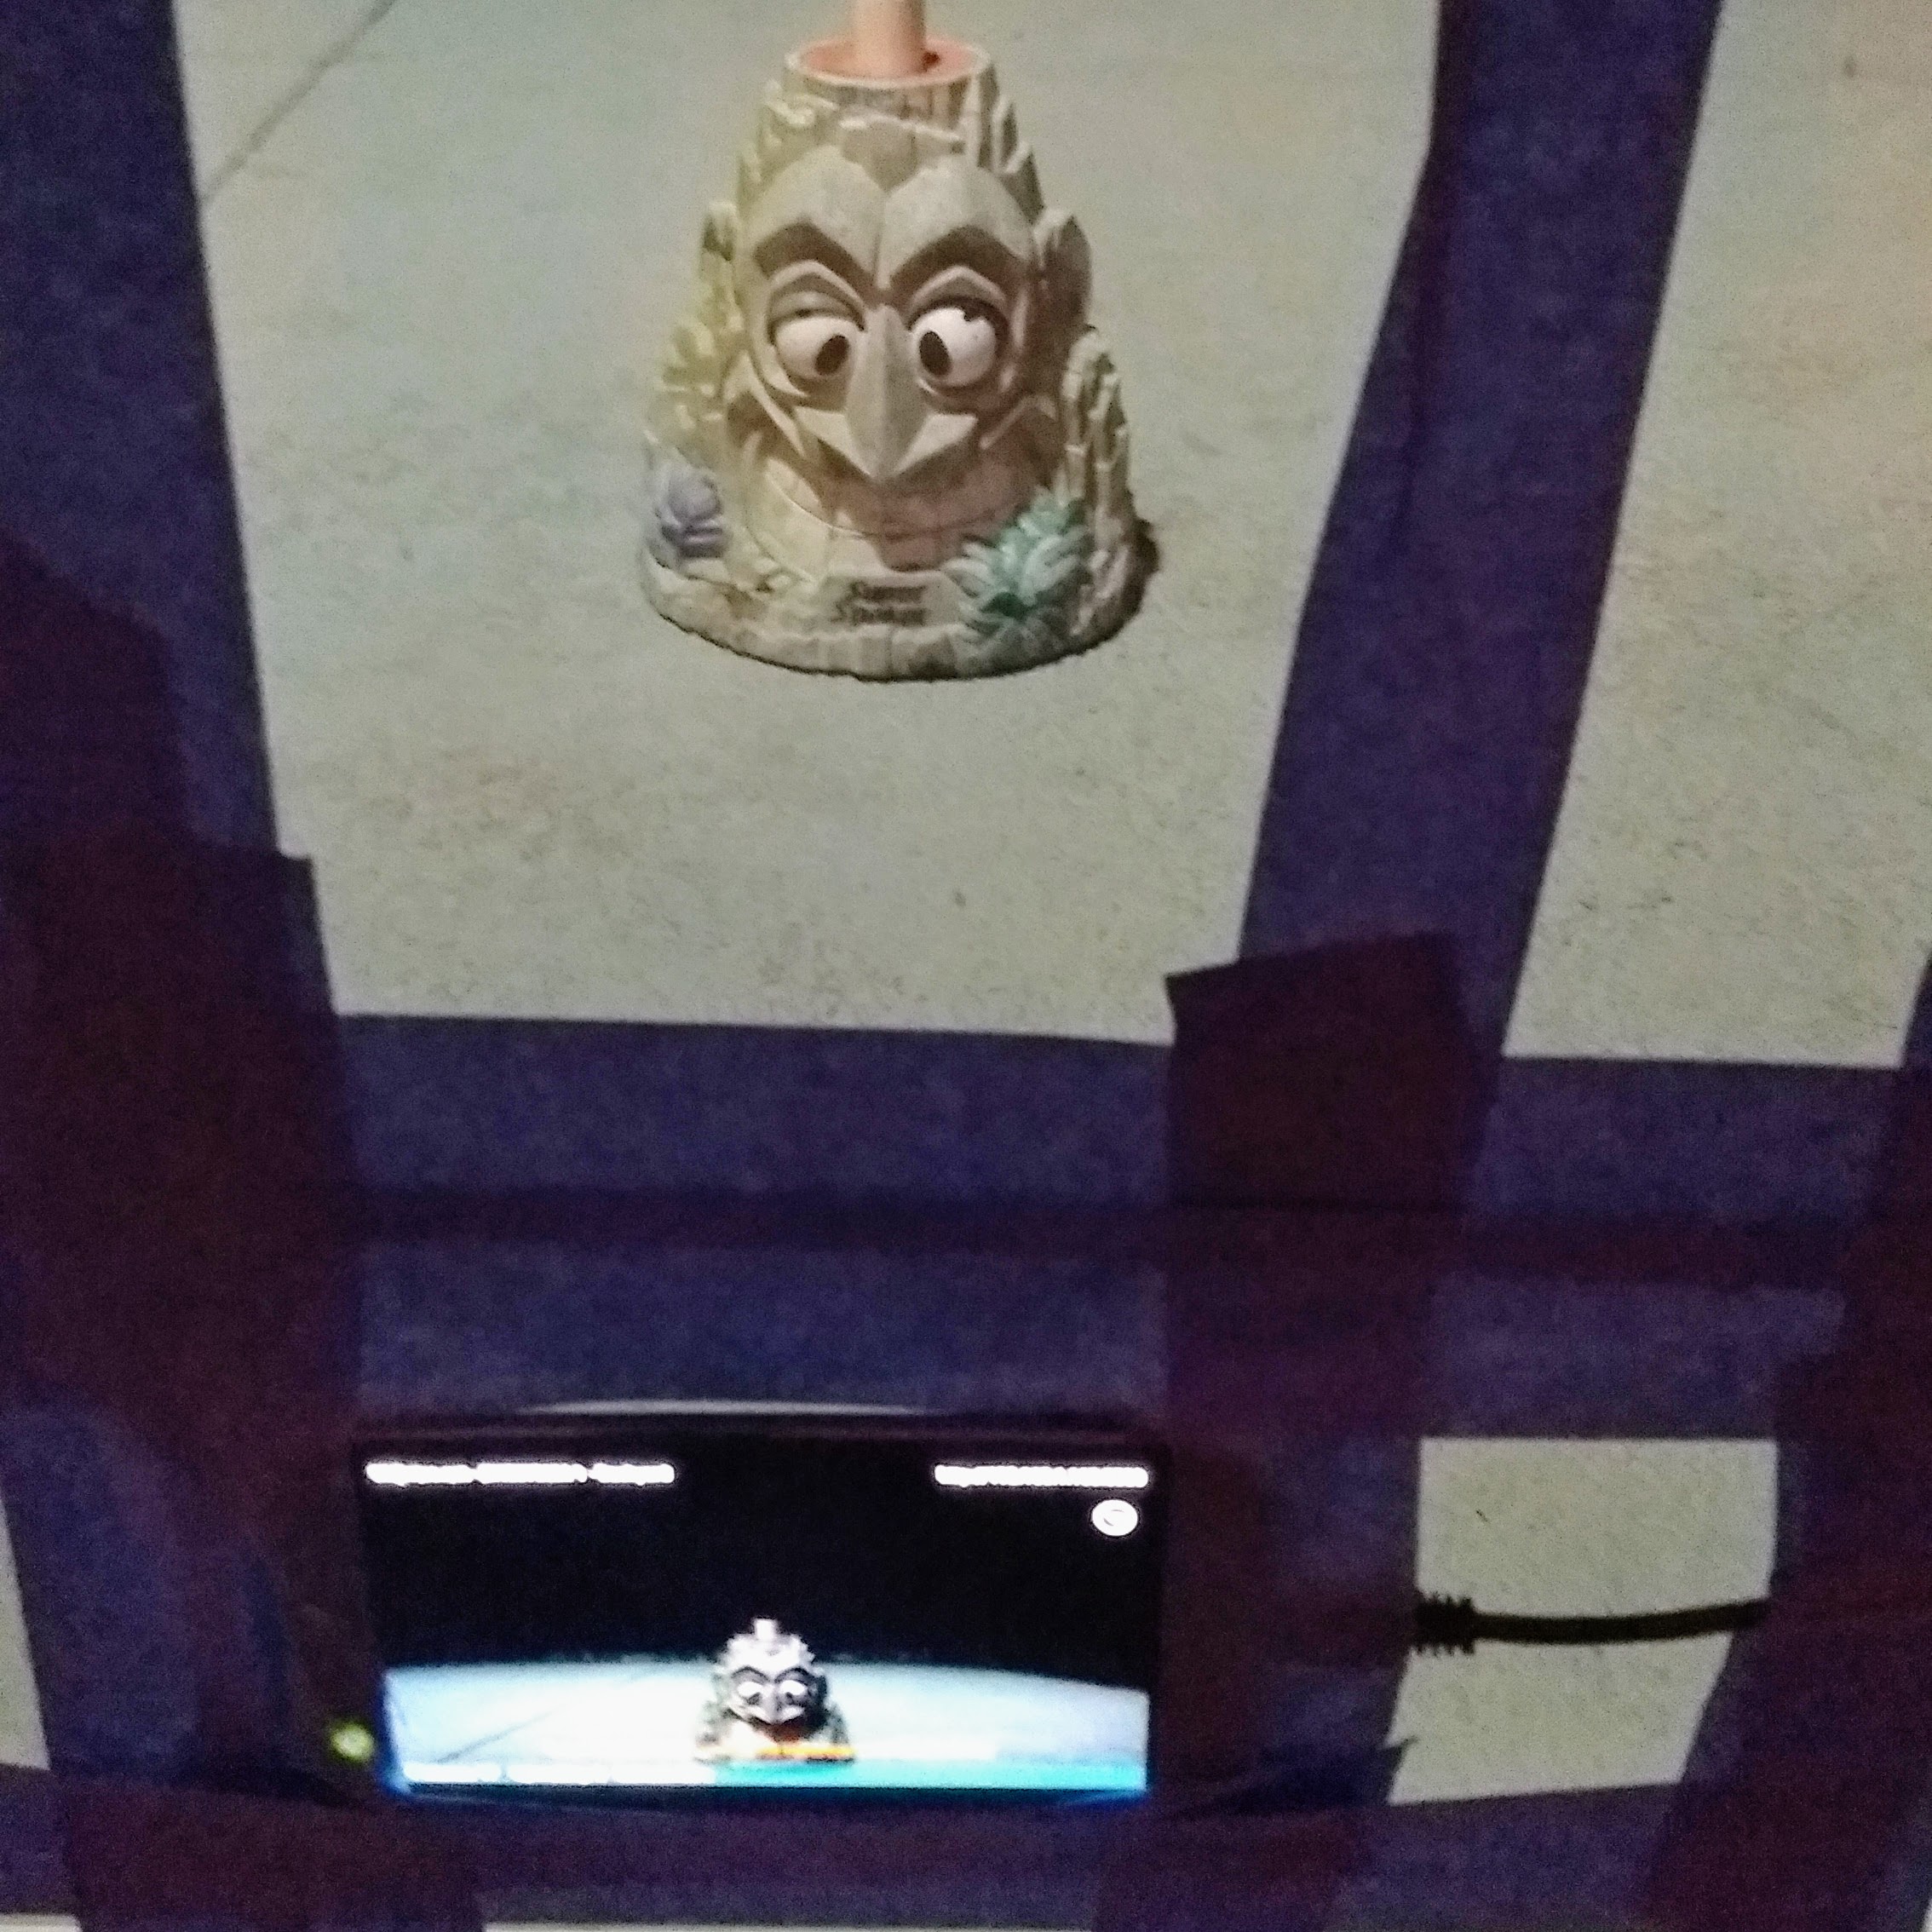
I setup an online cam to record our first Snowstorm of the year. The storm became a blizzard and hit the Jersey Shore pretty hard. The camera ran through night taking and uploading photos every 30 seconds as our Mt. Tiki Soki stood guard. All was working well until about 10:00am or so when the snow buried not only Mt. Tiki Soki but the wind created a drift right in front of the camera, blocking the view! Next time I will have to tape the phone higher up on the window.
I had hoped to capture the storm from beginning to end but mother nature chose to cut things short. It continued to snow through most of the afternoon. Oh Well, what you see below is a time lapse video from the night of the storm into mid morning:
Below are some images of the contraption that took the images to create this video. Unfortunately the app I use to capture and upload the images, MobileWebCam, seems to have been abandoned and is no longer available in the Google Play store. It still works on this phone for now. As you can see my camera rig was very impressive. It took a long time to build and setup! It consisted of: An old phone, USB cable with charger and plenty of blue painter’s tape.
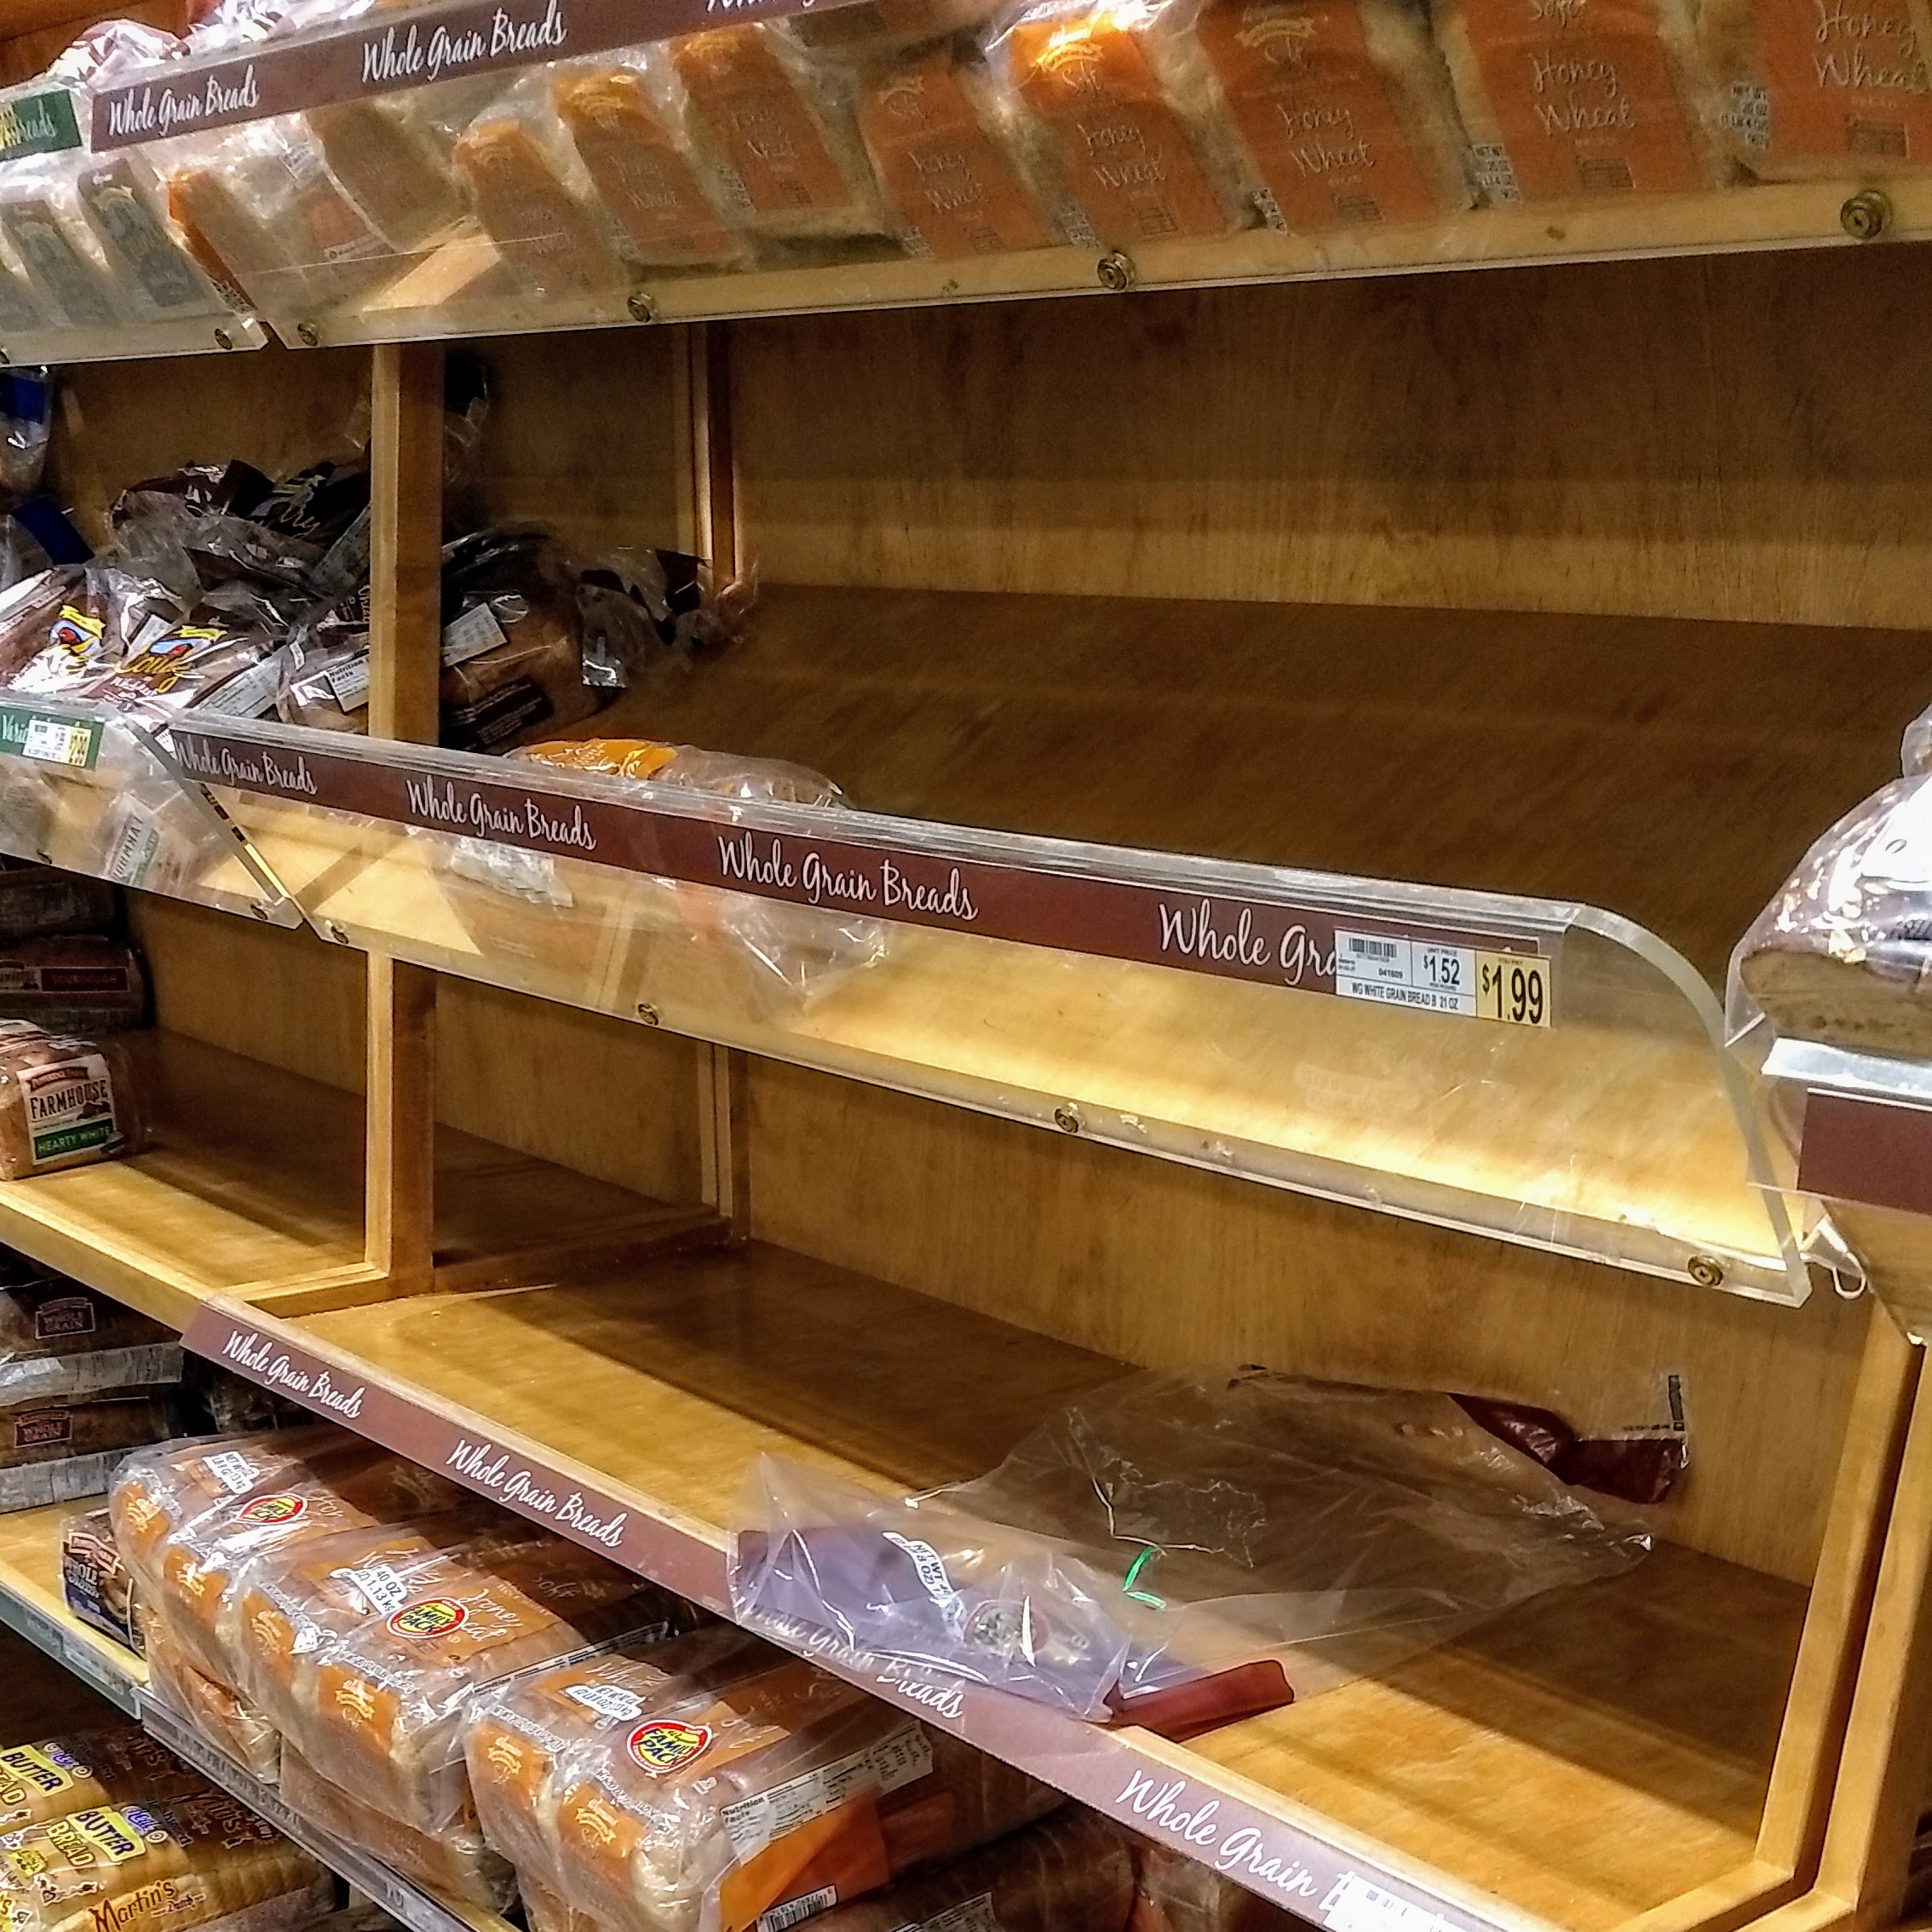
I don’t know what the official snow totals for our area are but we did get buried. With the wind blowing the snow around it’s hard to judge but I would say there is at least a foot, and probably more, of snow on the ground. I hope everyone stays warm and well this 1st French Toast day of 2018. You did go out and get bread, milk & eggs before the storm, right? Nothing left to do now except make French Toast!
When everything works correctly with the 3D printer you have this amazing spectacle of an object created out of thin air. This isn’t a fast process by any means, even small objects can take hours to print from start to finish. If you are imaginative you hang an old cell phone with tape to the side of the printer and use an app to take several hundred pictures of this action. (I should have taken a picture of this highly technical setup…) After all that you can create a time lapse video of the printing process like the one below:
The green thing printing in the video was a hook and bracket for mounting a cell phone on the side of the printer for taking pictures or video. It was a great idea and fit on the printer well but ended up getting in the way of the extruder as it moved along path. It looks like I’m sticking with the tape for the time being.
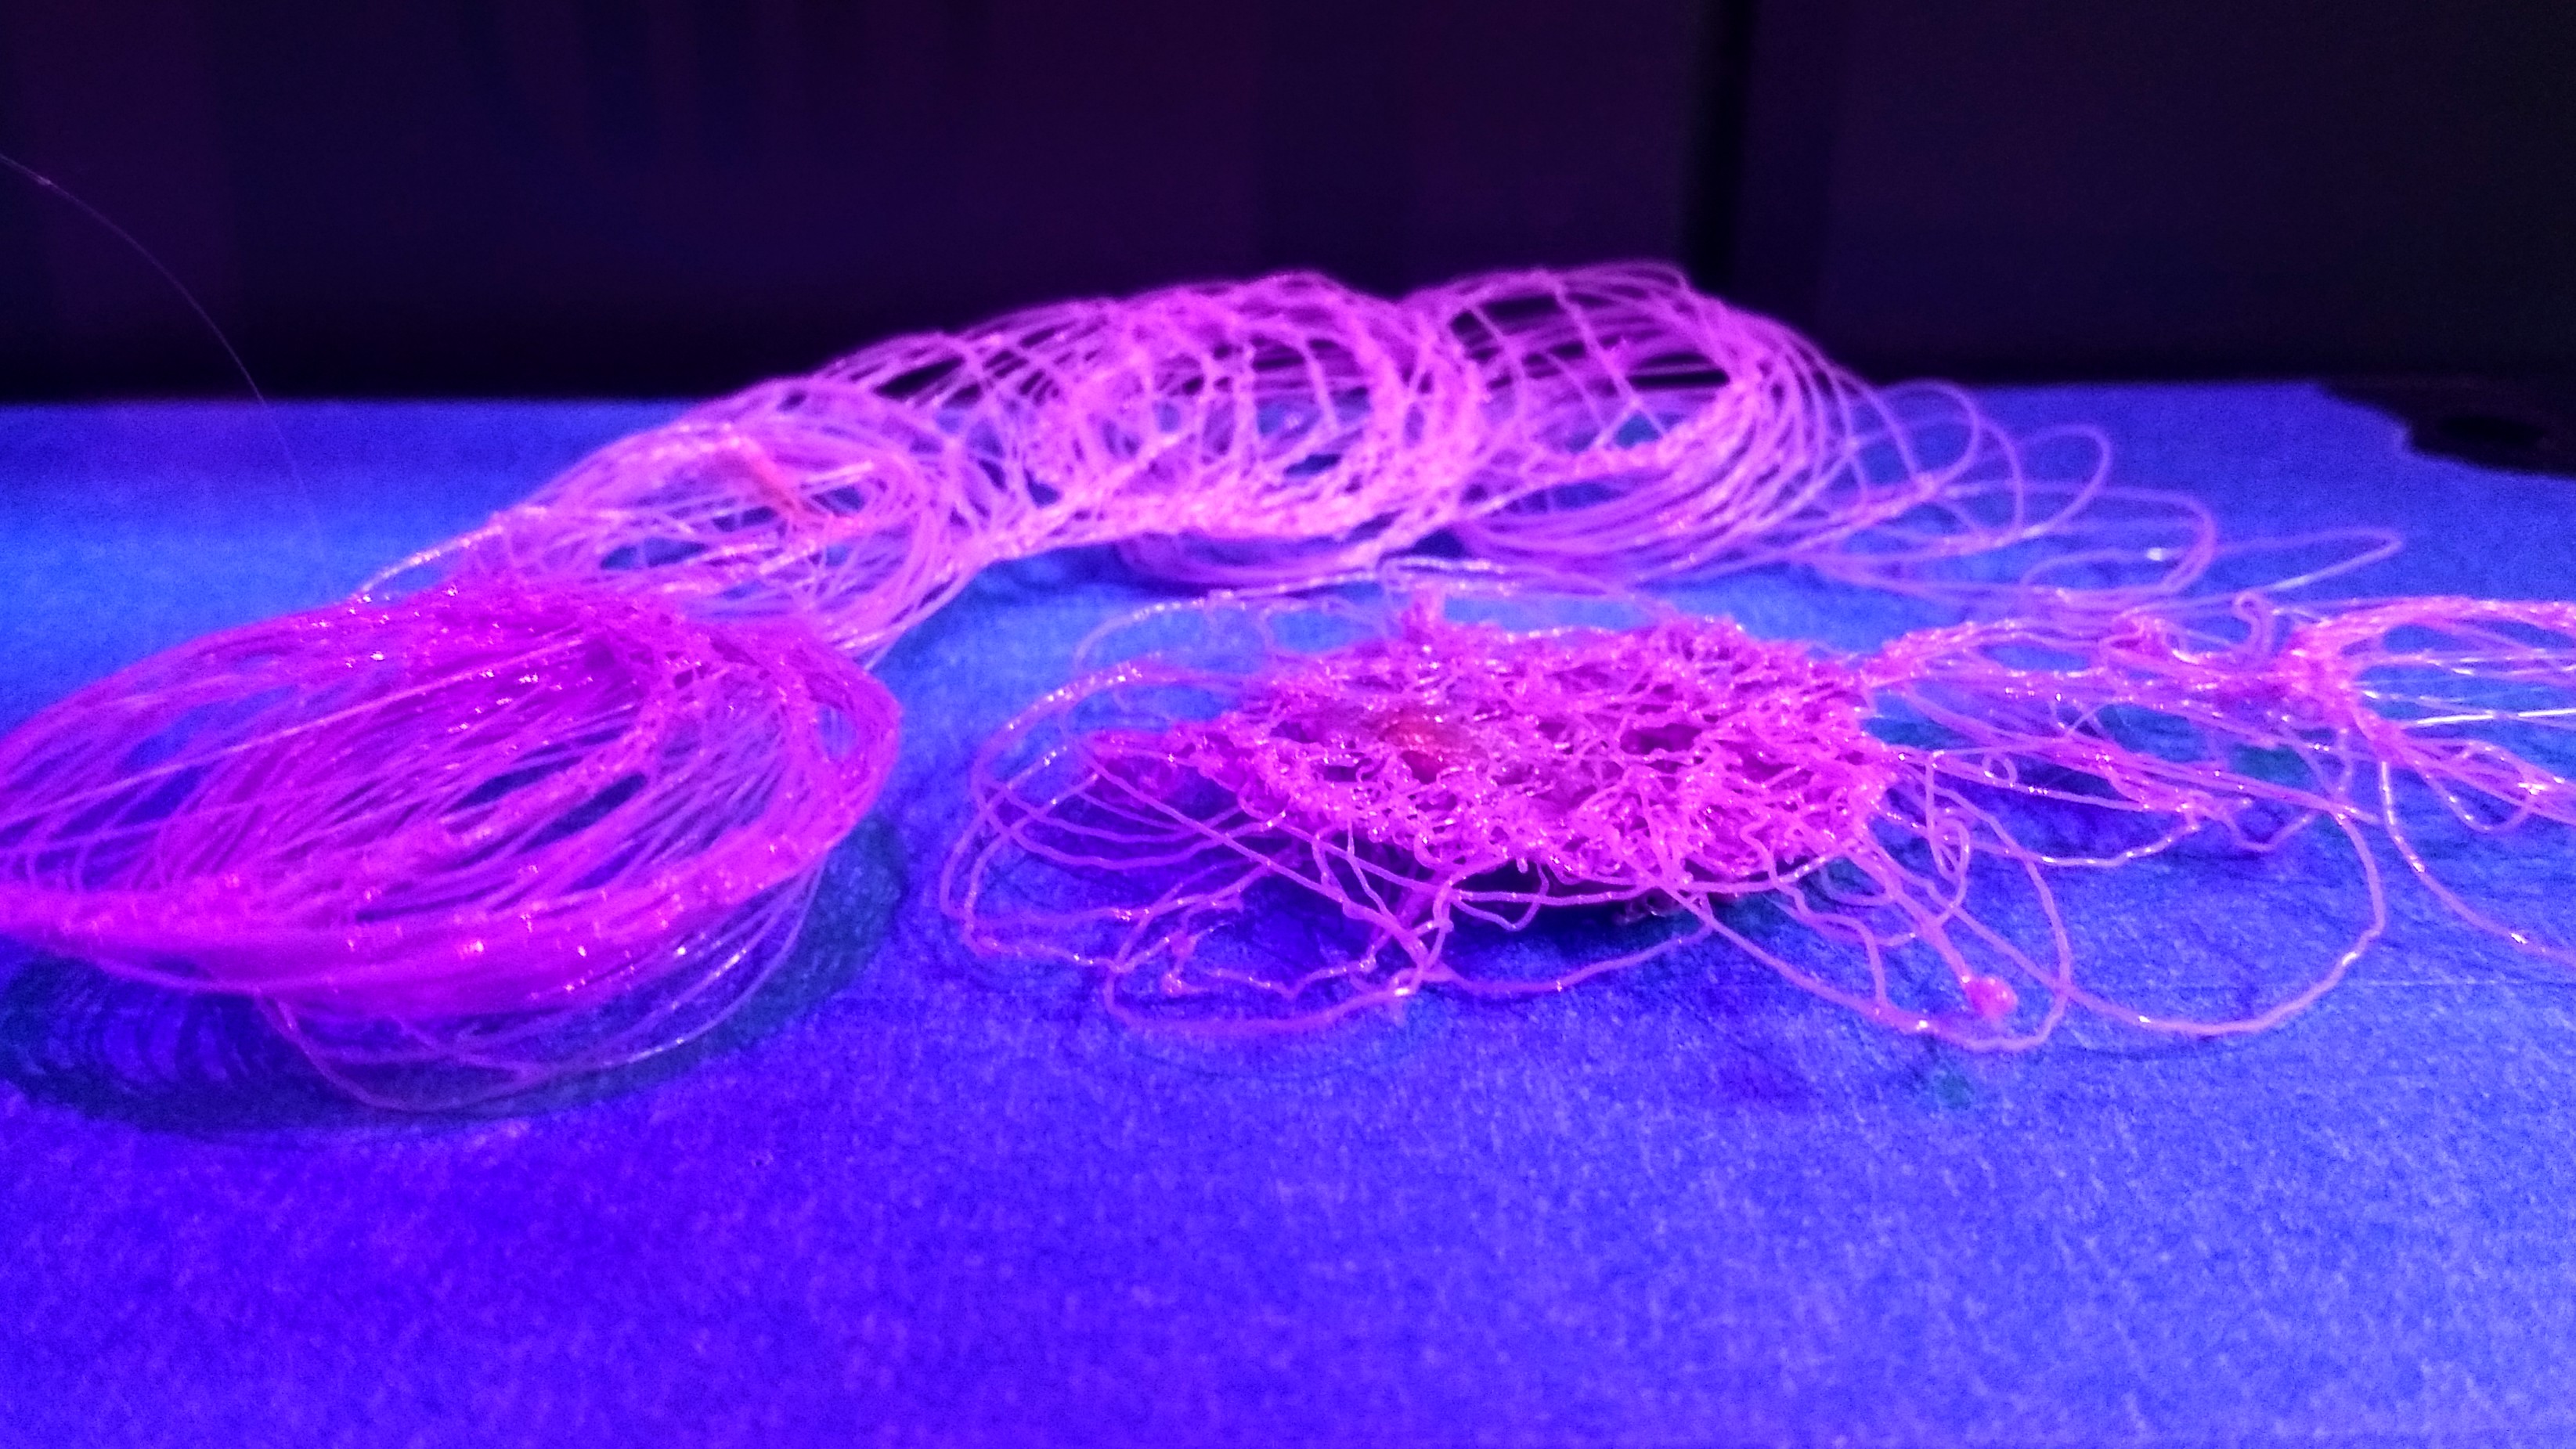
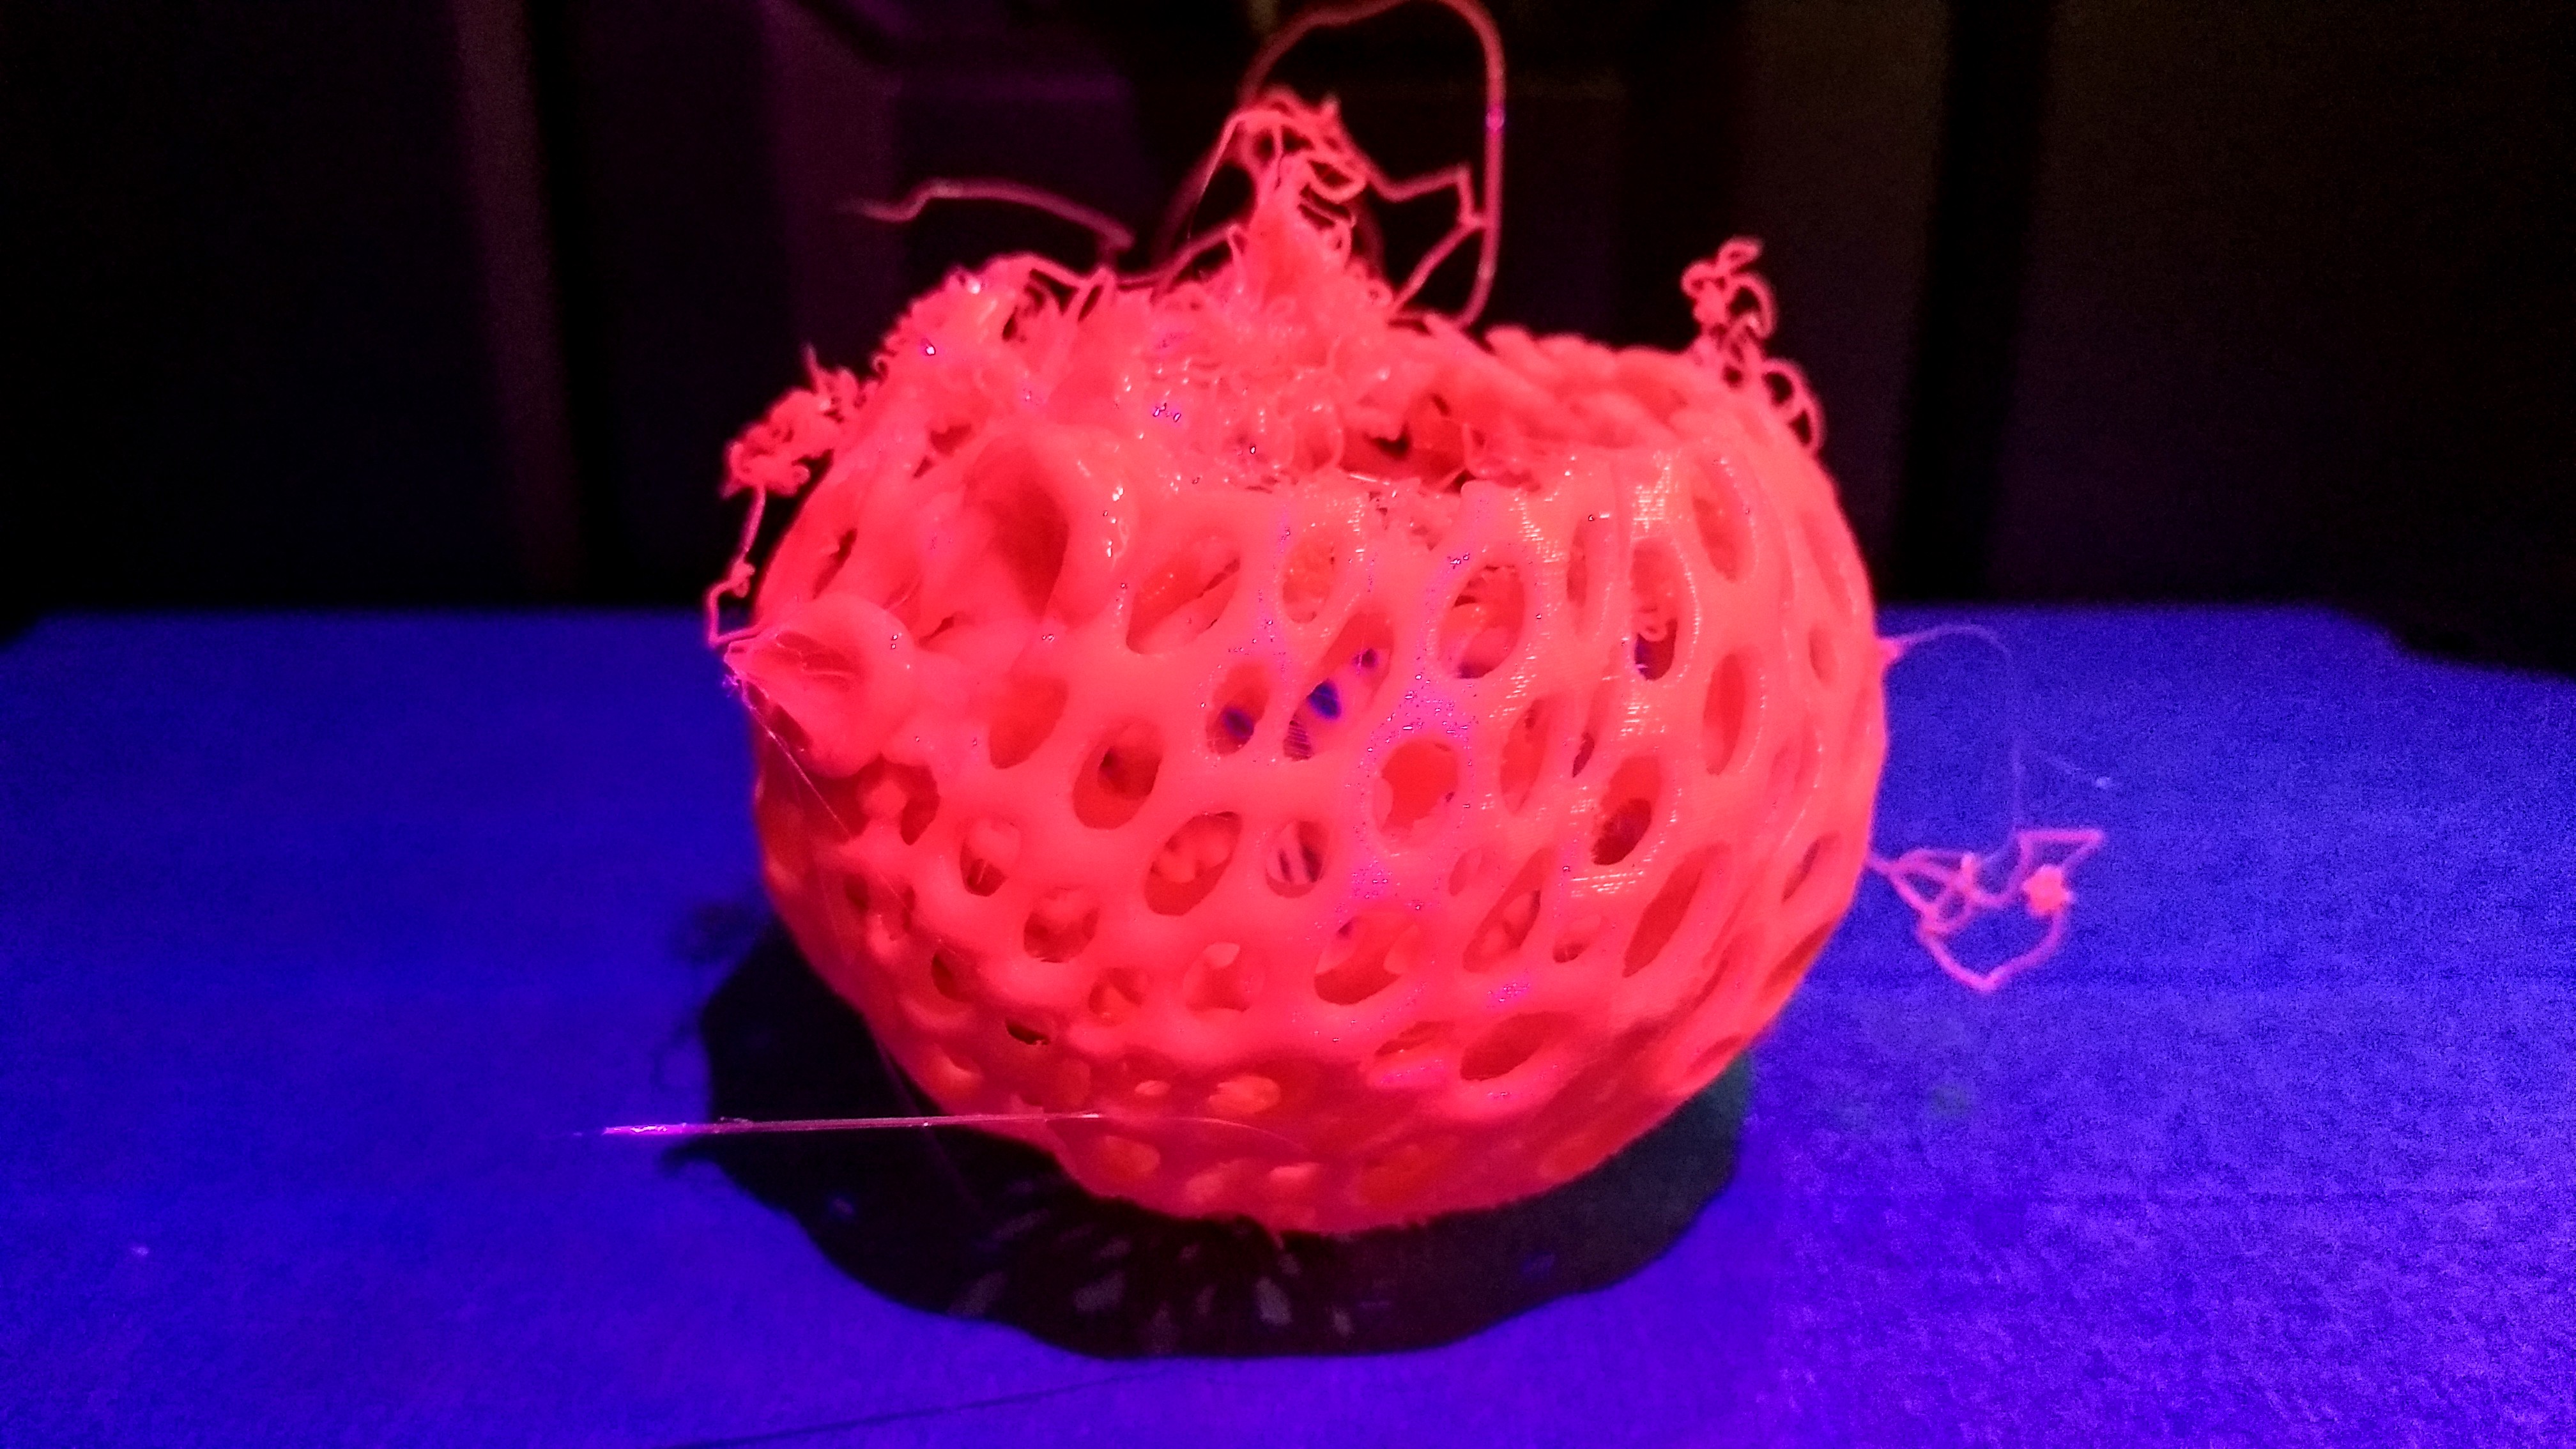
Now, I am not saying that our 3D printers are wonky or unreliable, they work flawlessly 90% of the time. Yet when a print does fail, it tends to fail in a spectacular way. The raft can work loose from the bed, even with blue tape put down, and create gobs of plastic spaghetti until you stop it. Sometimes a print just fails when the extruder gobs plastic in one spot melting a chunk out of your print. The pictures below are good examples of these phenomena.
This is a great, yet unfortunate, example of plastic spaghetti
3 hours in and the 3D Printer destroyed its hard work with a blob of filament
At this point both of our MakerBot Replicator+ 3D Printers are working very well. They needed a little tweaking here and there but are ready to be put into full time use printing out student projects. I can’t wait to see what they will create!
You must be logged in to post a comment.